|
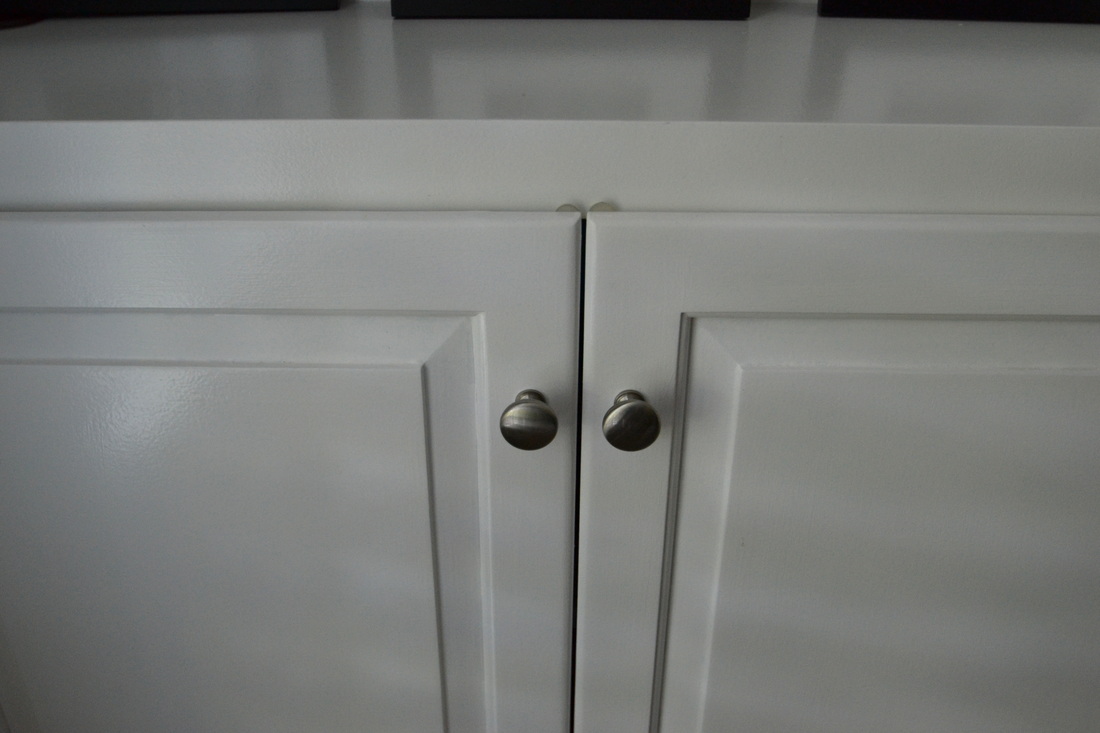
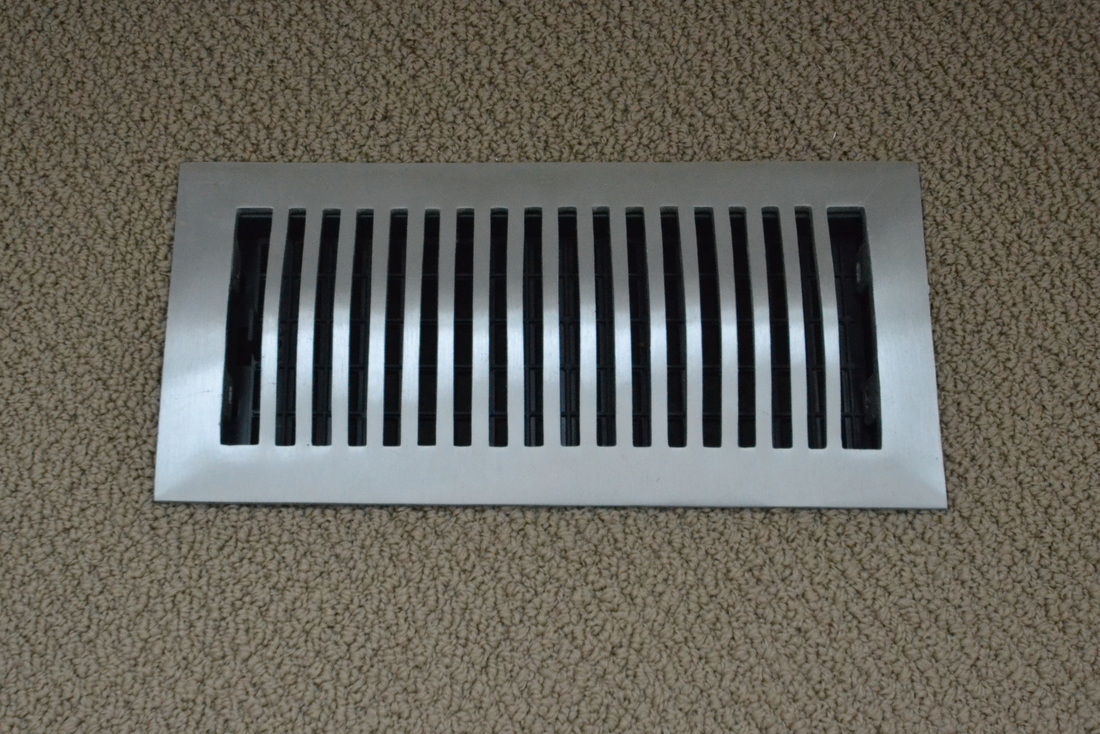
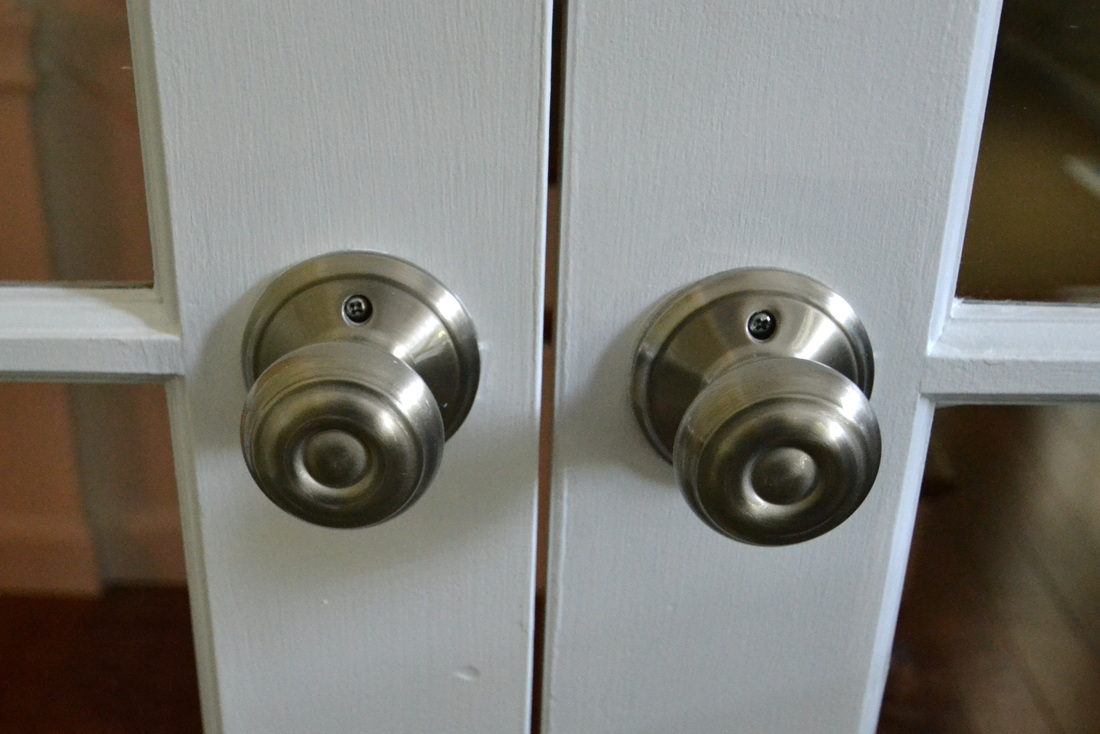
The first room that you see when you walk into our house is Brian's office. The real estate listing picture {below} makes it looks like it's a decent size; it's not. It's small, and it was dark...really dark. The Lowdown: Walls: Grasscloth wallpaper Bookshelves: Dark-stained with brass hardware Floors: White wall-to-wall carpet Trim: Dark blue painted window frames, molding, and french doors 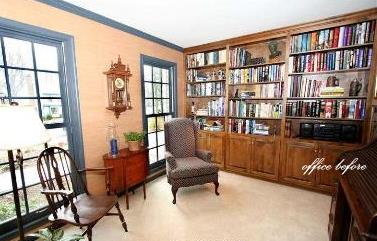 Below is a picture of the french doors that lead into the office. Excuse the blinding glare from the mini candle chandelier! {?} Like everything else in the house, the doors were painted navy blue: 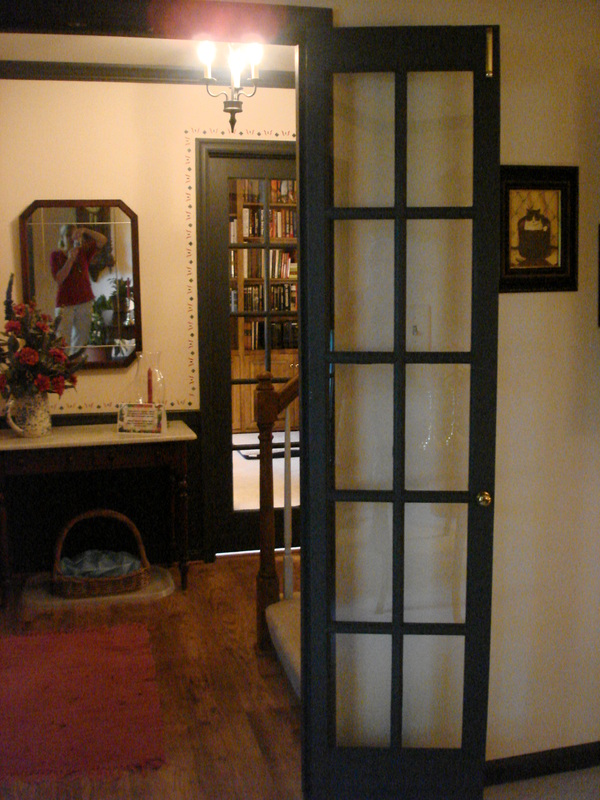 I WISH I'd taken pictures of the wallpaper removal, but I didn't! I did happen to capture the room with ripped-out carpet, though. You can see that initially, we thought we could paint the molding, but painting over dark oil-based paint is useless, so we ended up replacing it. 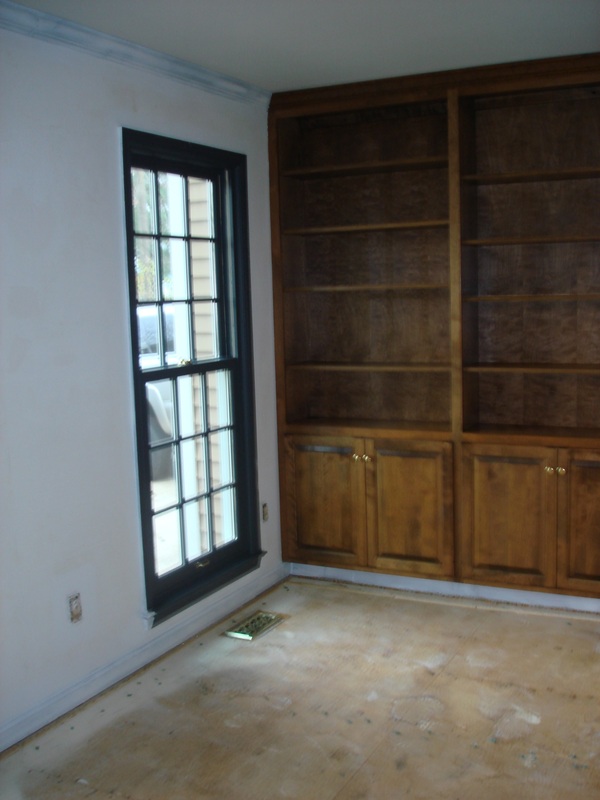 You can see how hazy the photo below is...that's because these bookshelves had to be sanded before we could paint them, which kicked up more dust than you can possibly imagine! 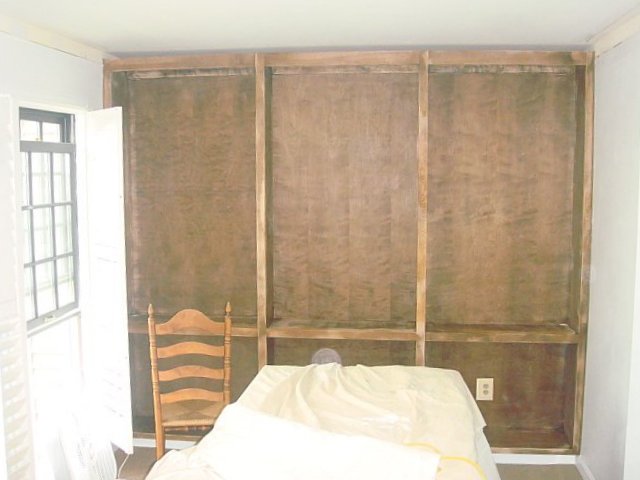 My husband looked like this for a few days... {excuse the Uggs and pile o' sneakers!} 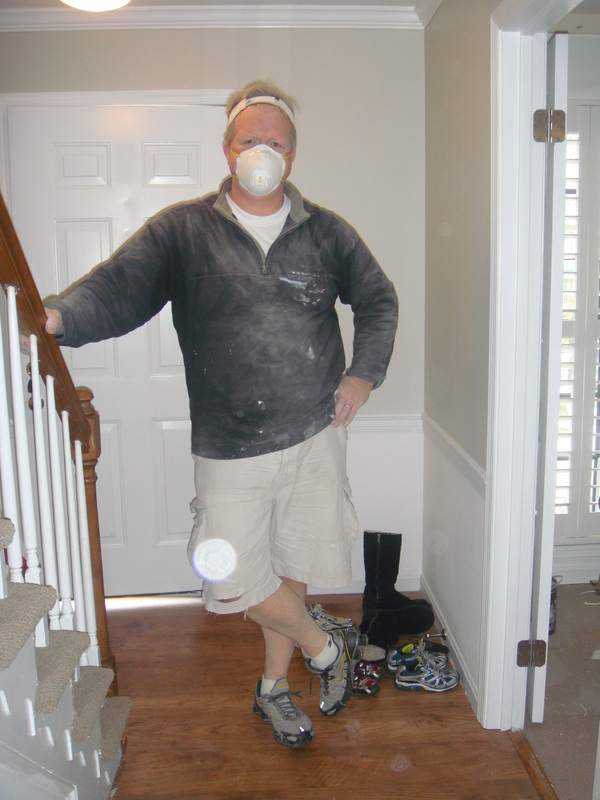 Below you can see the new plantation shutters we installed {and the stroller outside the window...this was a couple of years ago!} 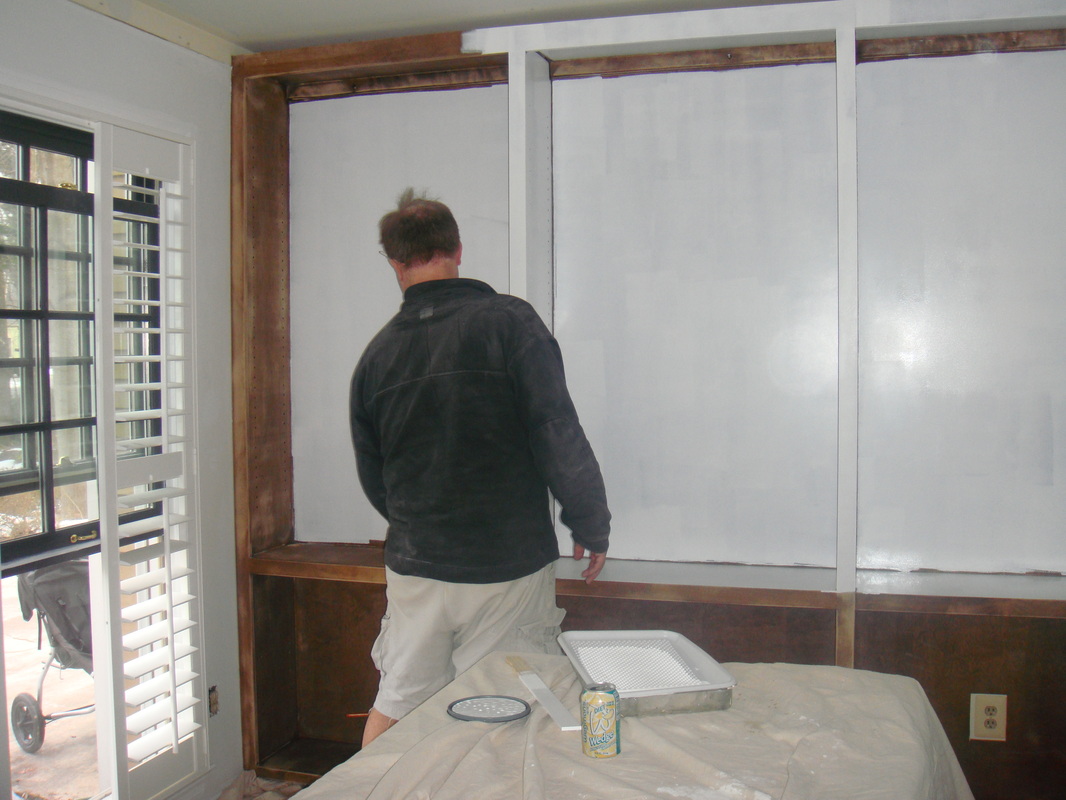 We installed downlights over the bookshelves, and also in the inset wall: 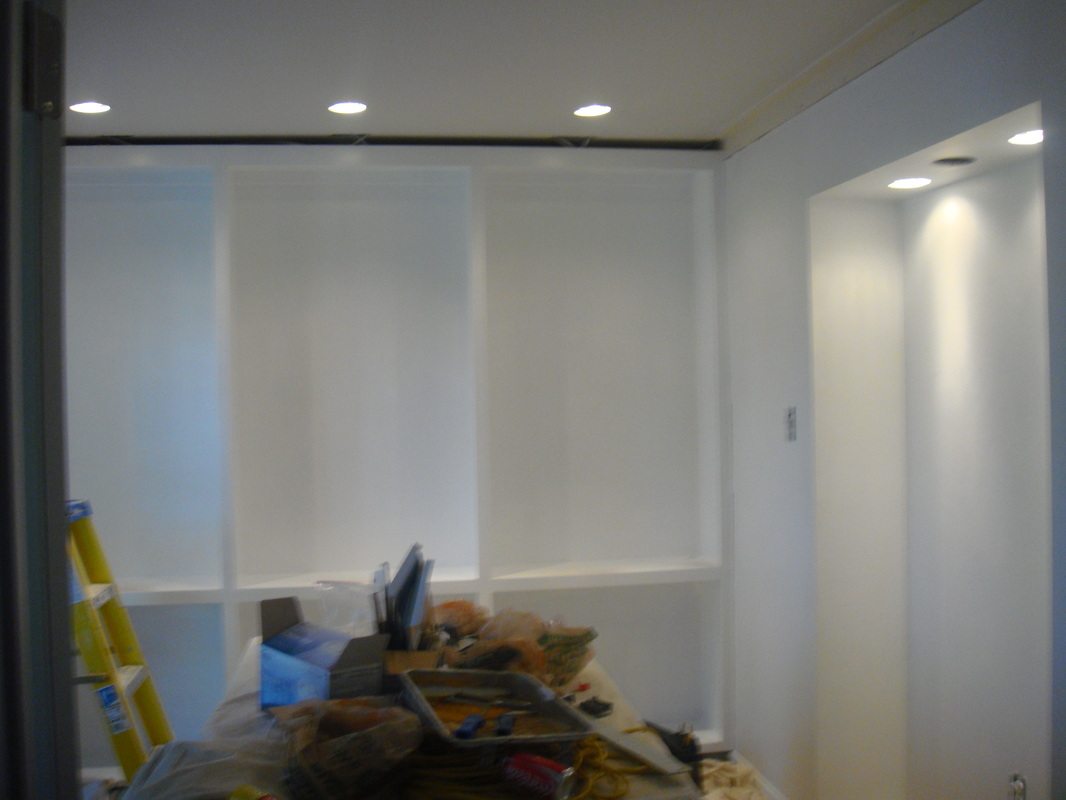 The gallery wall {below} is my favorite part of the room. The only part that took some time was collecting the frames. I started with Pottery Barn's single opening gallery frames, but I needed 33 {!!!} and that was getting pricey. So I searched out other frames which met my criteria: Black, flat, half-inch frame with white mat, and guess where I found some for dirt cheap? You guessed it! Wal-Mart. {They don't have the exact ones I used, but the white gives you an idea}. From a distance, I can't tell which ones are from Pottery Barn and which ones are from Wal-Mart. Can you? If you can...don't tell me. ;-) 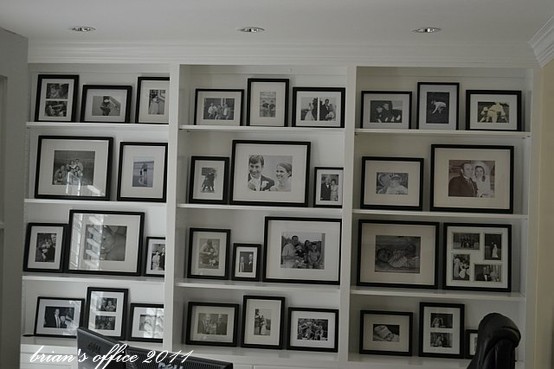 Here you can see a close-up of the crown molding, downlights, and plantation shutters. The paint color is our perennial go-to, Ralph Lauren Nigerian Peony. 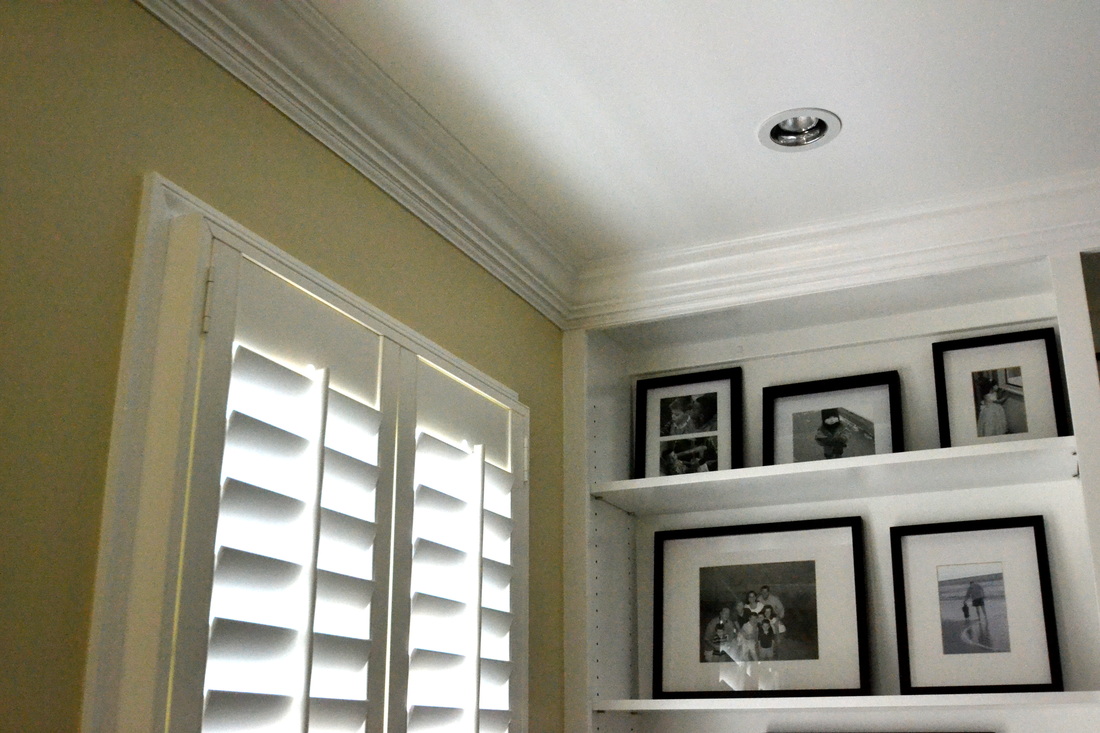 Of course, we had to replace all the hardware, including the knobs & register covers {below}.
See the taupe Berber carpet? Eventually we'll replace it with Brazillian Cherry hardwood, but for now it's an improvement over white wall-to-wall. 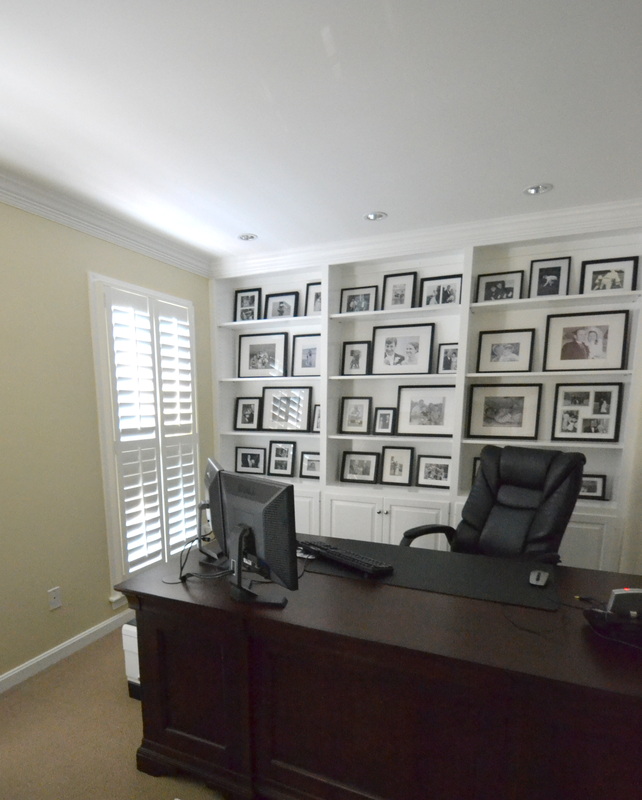 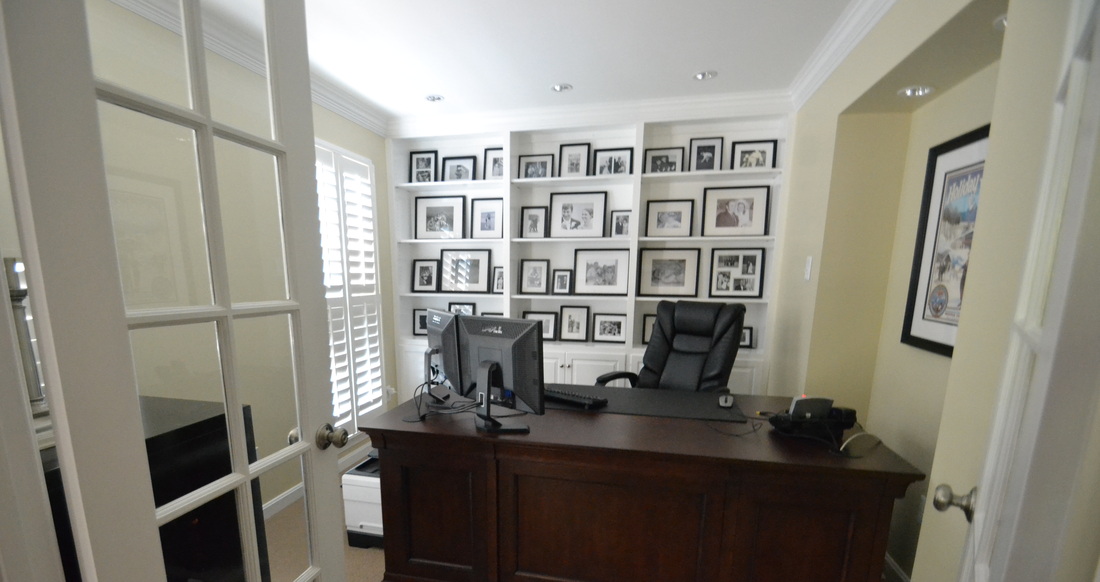 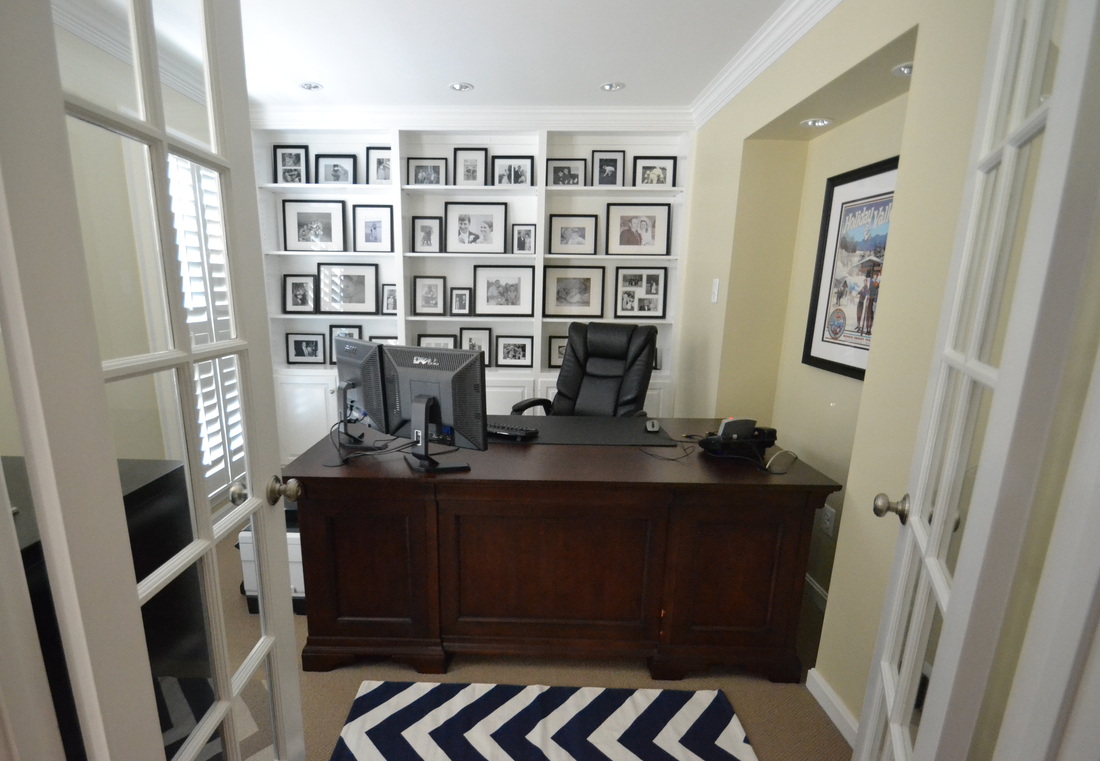 Are you thinking what I'm thinking? 1) This is not an ideal place for an office, since it's the first room you see when you walk into the house {and let's be honest, it looks this neat about 2% of the time}, and 2) if it has to be an office, the desk should face the wall on the right, instead of chopping the room in half? If so, I agree with you. However, we don't have anywhere else to locate the office right now, and the desk has to hide an unsightly mess of paperwork from company. Another reason for an addition... Project Summary No contractors except for the folks who laid the carpet, and I won't list them here because they didn't blow me away. All of the work was done by my husband, who {as everyone knows} is the one with the skillz. I just take the photos. :-) Happy Tuesday!
15 Comments
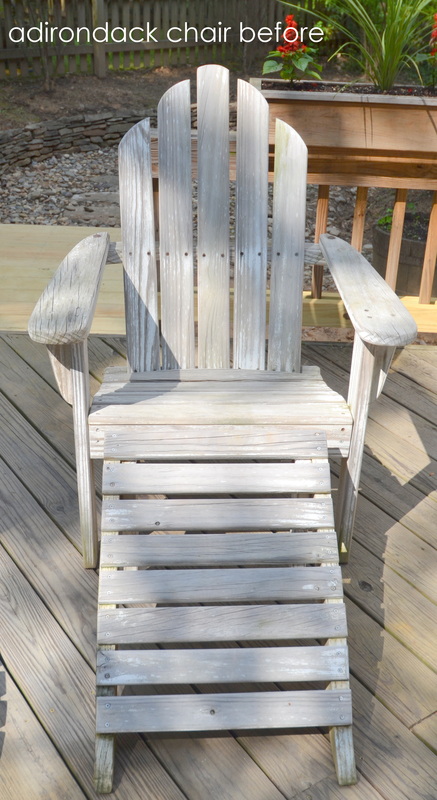
To follow my shocking disclosure that I've never purchased fabric until very recently... are you ready for this? I've never bought or used spray paint before, either. I. KNOW! Crazy! And the problem is that now, I want to spray paint EVERYTHING white. Everything. Look out people. First up: 2 Adirondack chairs that I purchased about 13 years ago when I was working at Crate & Barrel. Customers kept returning them because the paint was chipping too easily, so I think I bought both chairs and ottomans for $50? Here's what the chairs looked like before:
So! I went ahead and tried to spray-paint them. It started out fine; the paint went on evenly and the coverage seemed to be pretty good. But there were a couple of things I didn't know about spray paint: 1) Those cans get empty really fast! I went through 7 cans in no time. 7 cans! And I wasn't even close to being done. 2) The paint gets EVERYWHERE. I put down drop cloths, but imagine my horror when I pulled them up and there was a fine mist of white all over certain parts of my deck. Crap! Luckily, my husband plans to power-wash it this weekend, so I'm told it will come up. 3) It can get really drippy. If I wasn't a totally impulsive person, I might have sanded the chairs down, primed the wood, and then carefully painted it for an even finish. Instead, I rushed ahead and figured if the chairs ended up white, it was all good. ;-) Which they did. The end. 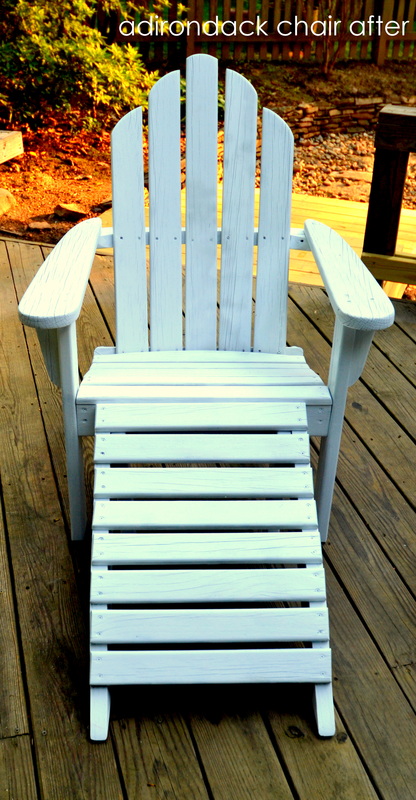
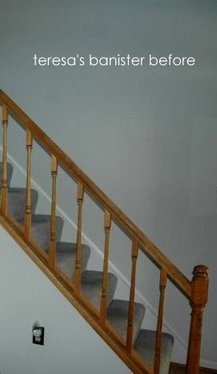
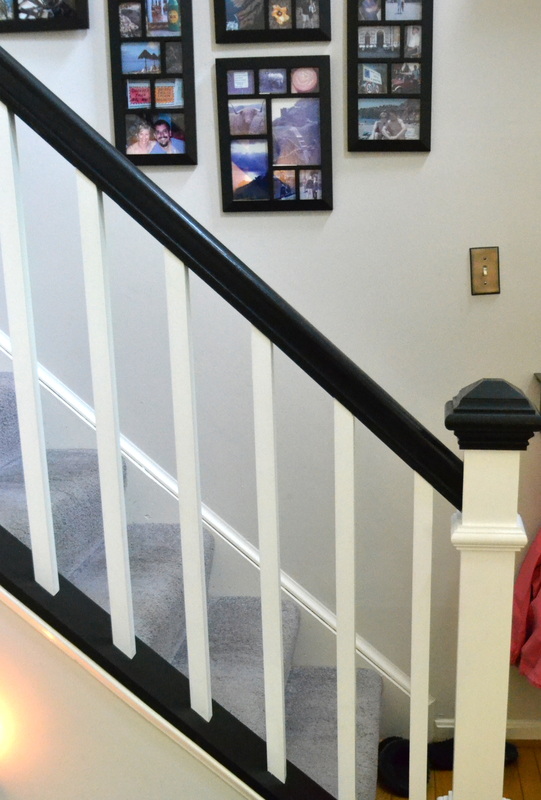
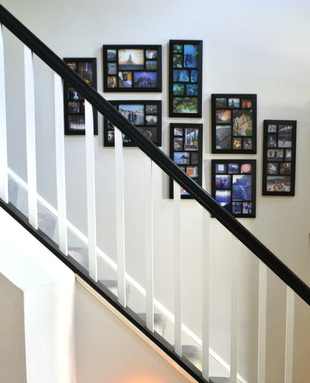
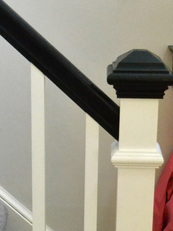
I blogged about Teresa's home addition here, with the promise to return soon with some interior shots. So here I am! I have to say that as fabulous as it looks from the outside, it's even better on the inside. The high ceilings and windows fill the entire space with tons of light. It's hard to pick, but here are some of my favorite highlights... #1: The Banister
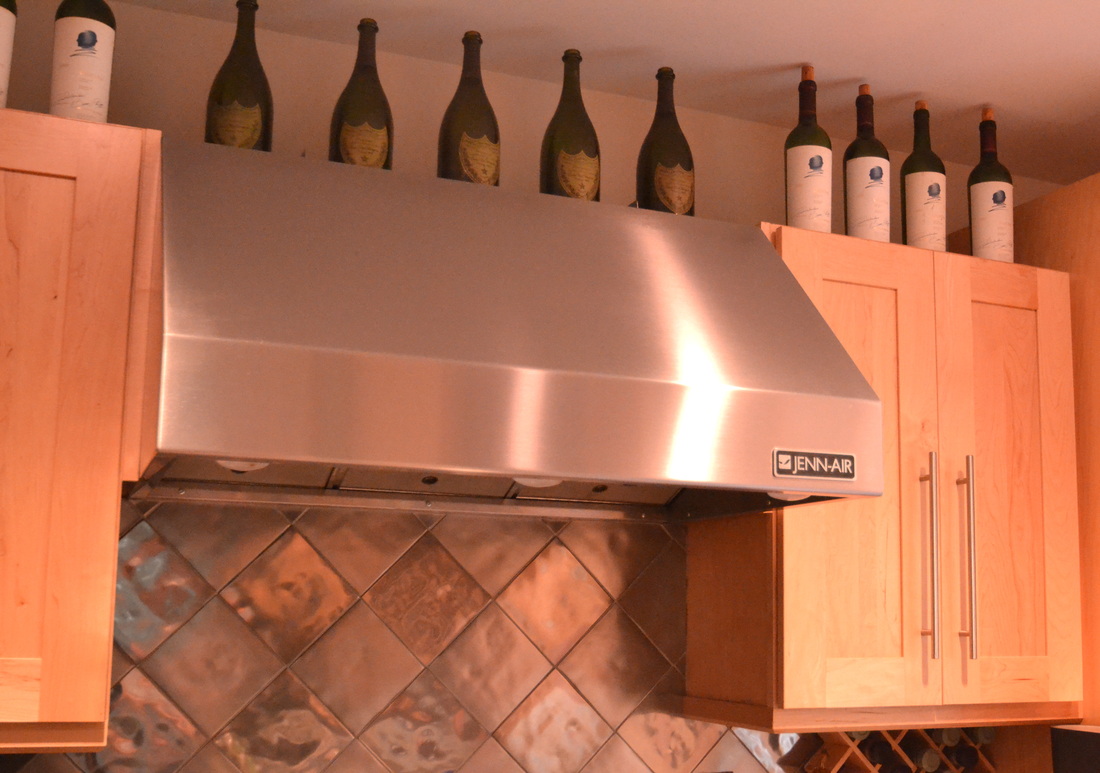
#2: The Kitchen
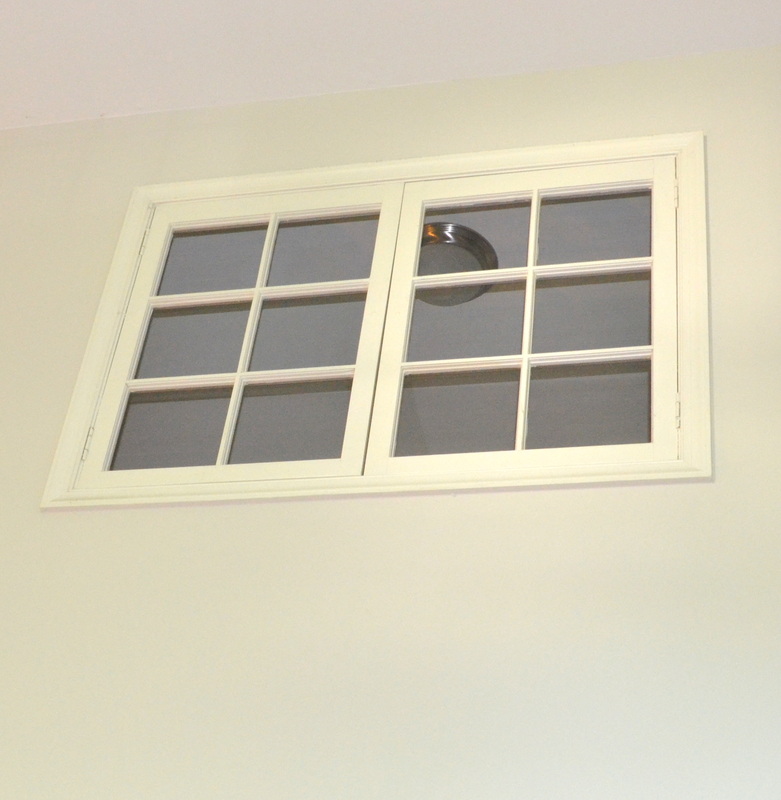
#3: Natural Light The windows and doors in this house are unbelievable! The whole place is just flooded with sunlight.
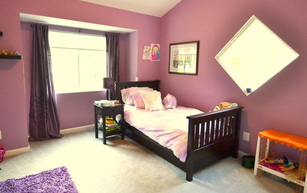
#4: The Yard Check out the view from the deck! Can you believe how gorgeous it is? Swoon.  #5: The Lower Level {I can't call it a basement!} Teresa's husband works from home in an industrial-chic man cave. I love these bookshelves: 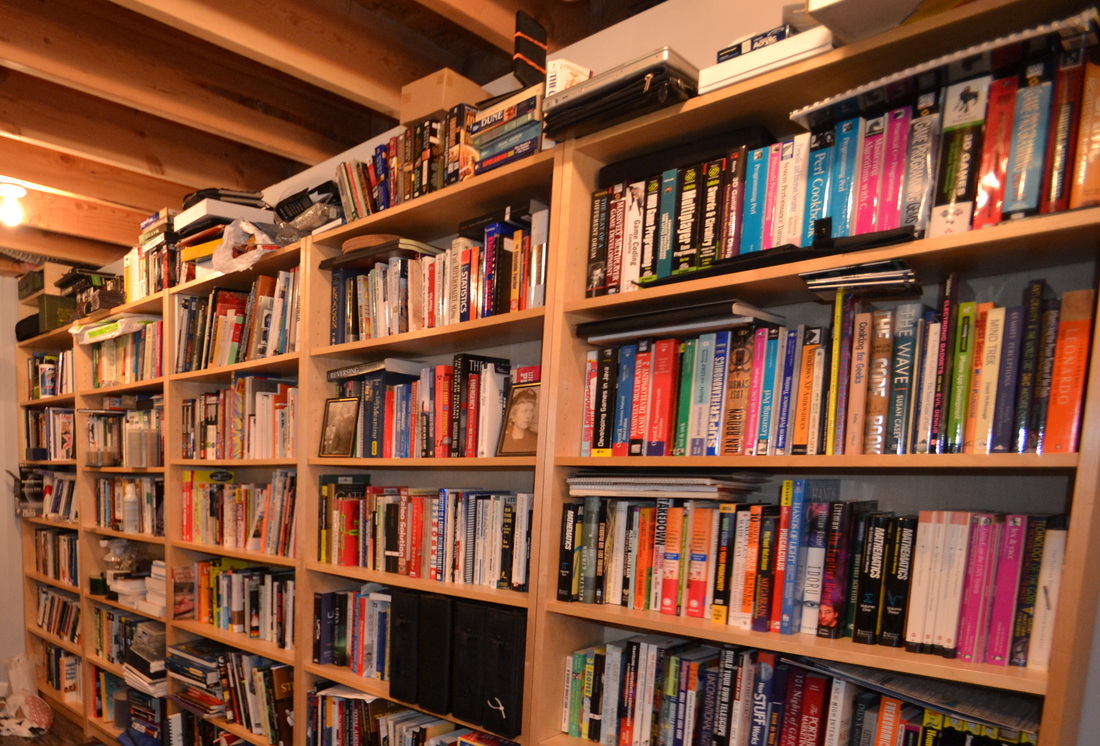 ...and this gallery is just perfect. 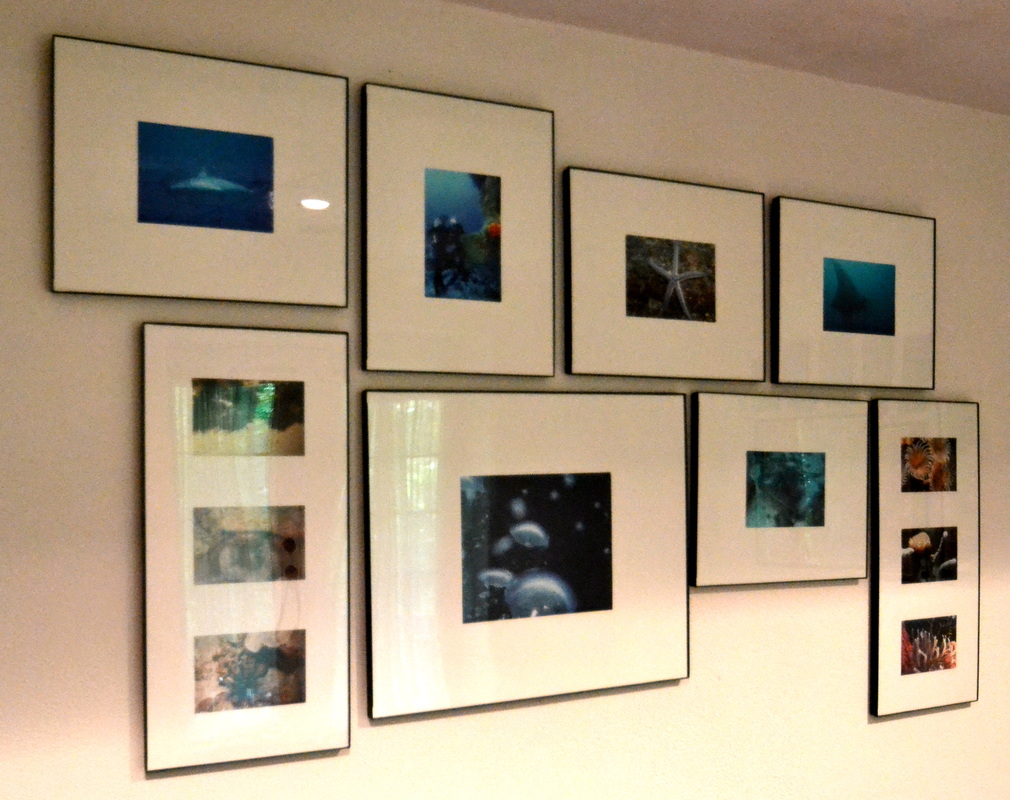 #6: The Girls' Rooms
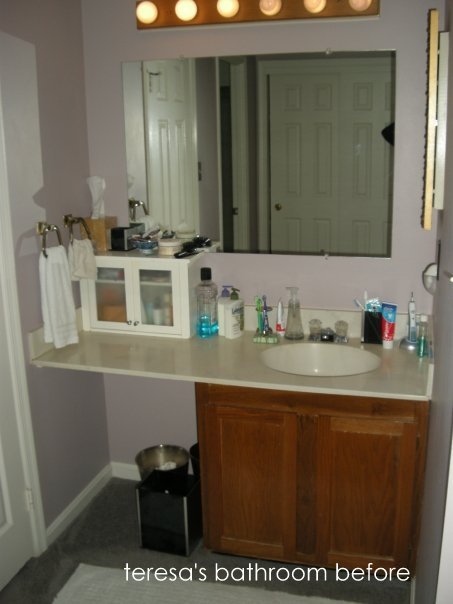
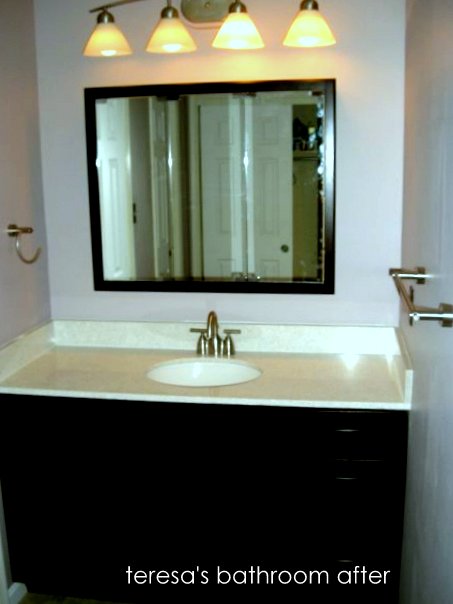
#7: Master Bathroom What a huge difference! I especially love the white countertops.
Teresa highly recommends using A&P Builders, and after seeing this house, I think I'd use them too! Happy Thursday! :-) So I thought this was an amazing idea: Combine a home office with a laundry room! Since Jen has 3 kids and works from home, she needed a place to escape the chaos and focus on work, while squeezing in some laundry multitasking. This fabulous space is tucked down in the finished walk-out basement, which includes a family room, a bathroom, and a gym {no, this isn't a real estate listing.} She doesn't have the "before" shots handy, but apparently it was a bare-light-bulb-in-a-spooky-side-room kind of deal. Kind of like my basement. Anyway. Look how pretty! I love these cabinets. They're rustic and glam at the same time...how is that possible?! 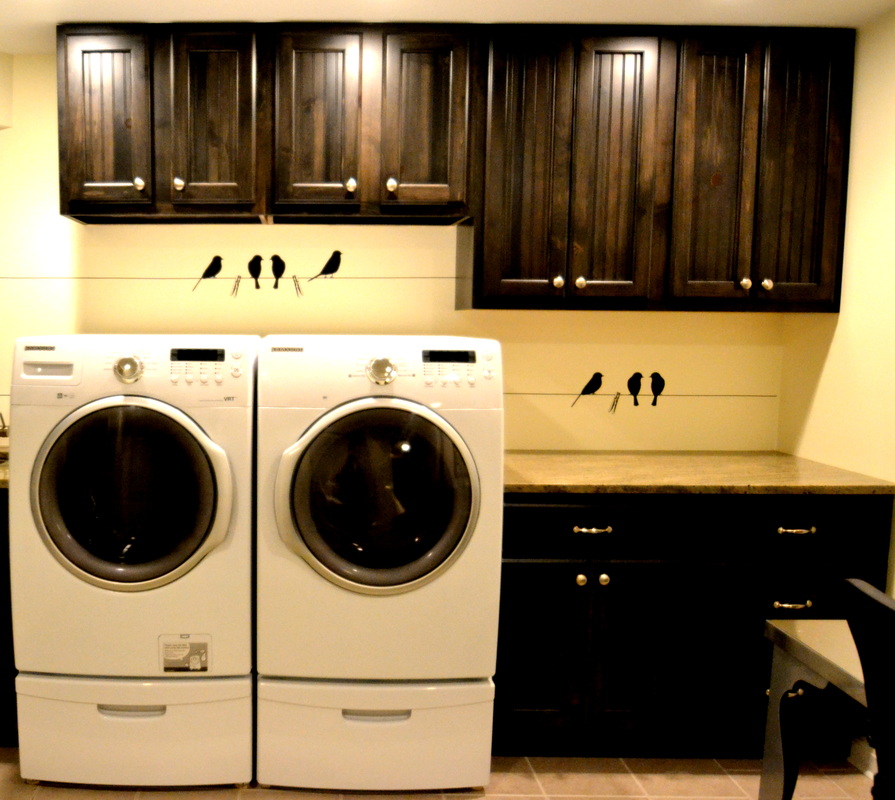 Check out this utility sink {it feels funny to call it that, because it's so fancy!} 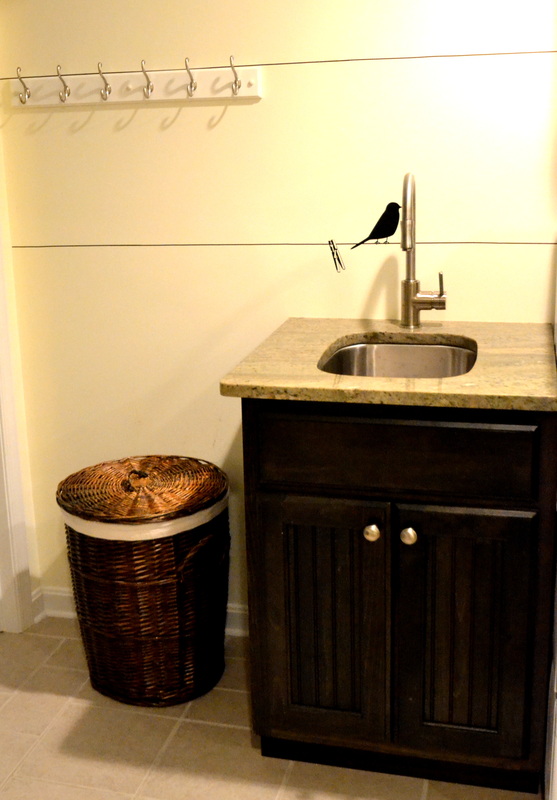 These counters are the perfect complement to the cabinets. Jen said they were part of a remnant slab, so they were a bargain too. Love that! 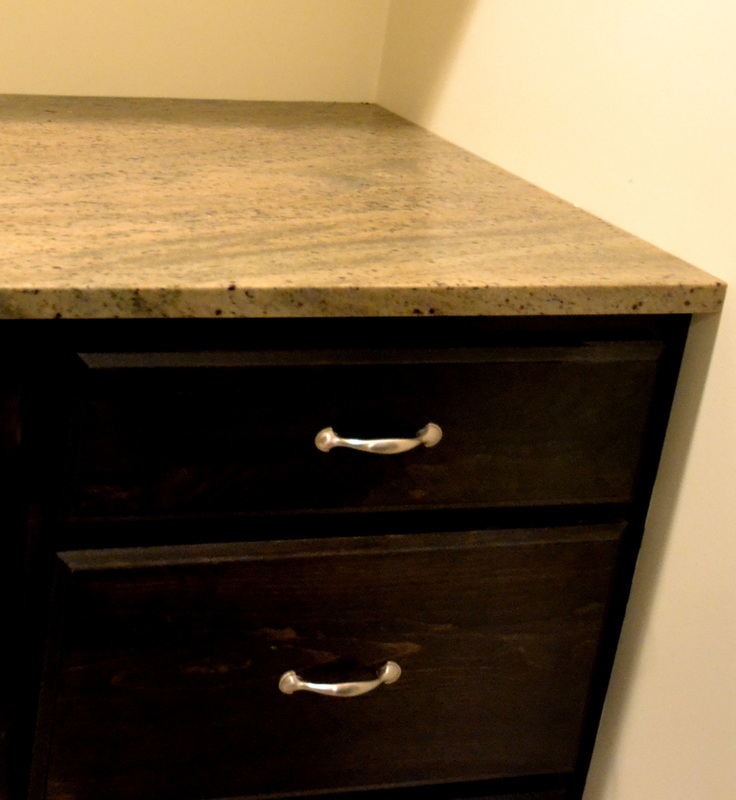 And how cute are these bird decals?  The cabinet {below} was originally supposed to be installed above the utility sink, but I think it works great above the shoe cubbies:  Source: sixteenfourteen.weebly.com via sixteen fourteen on Pinterest 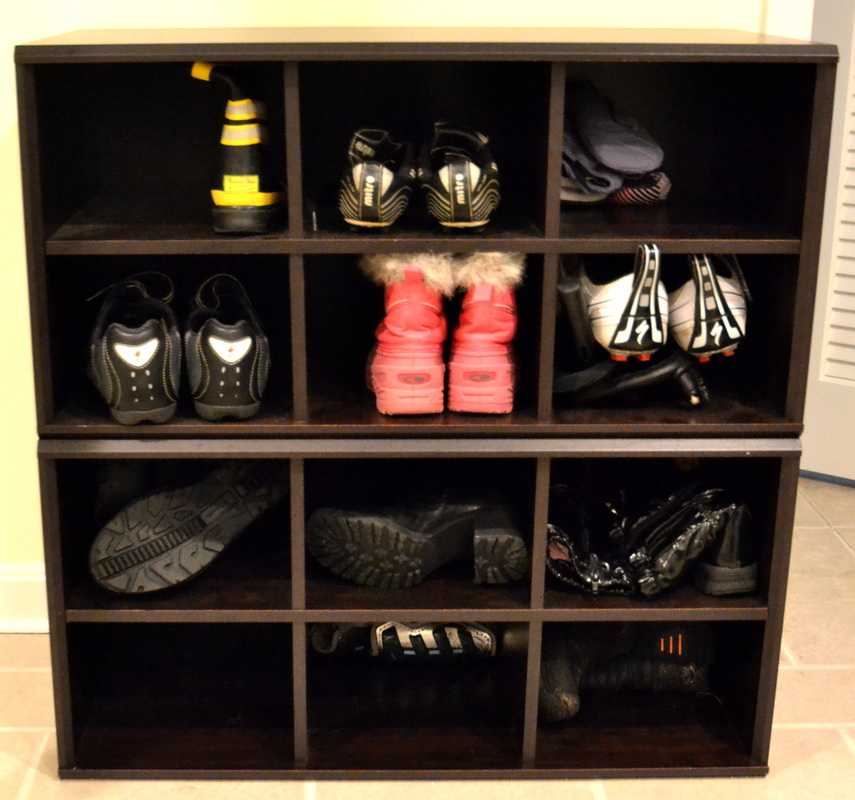 Below is Jen's {very neat} desk. The rug is an indoor/outdoor rug from Ballard. 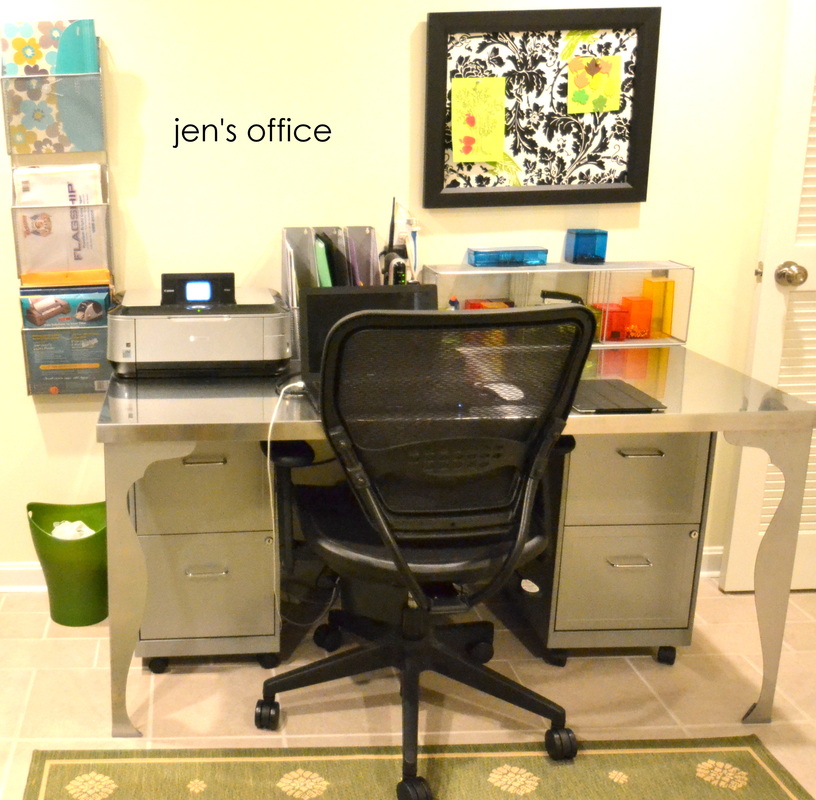 And here's a shot of the whole room... 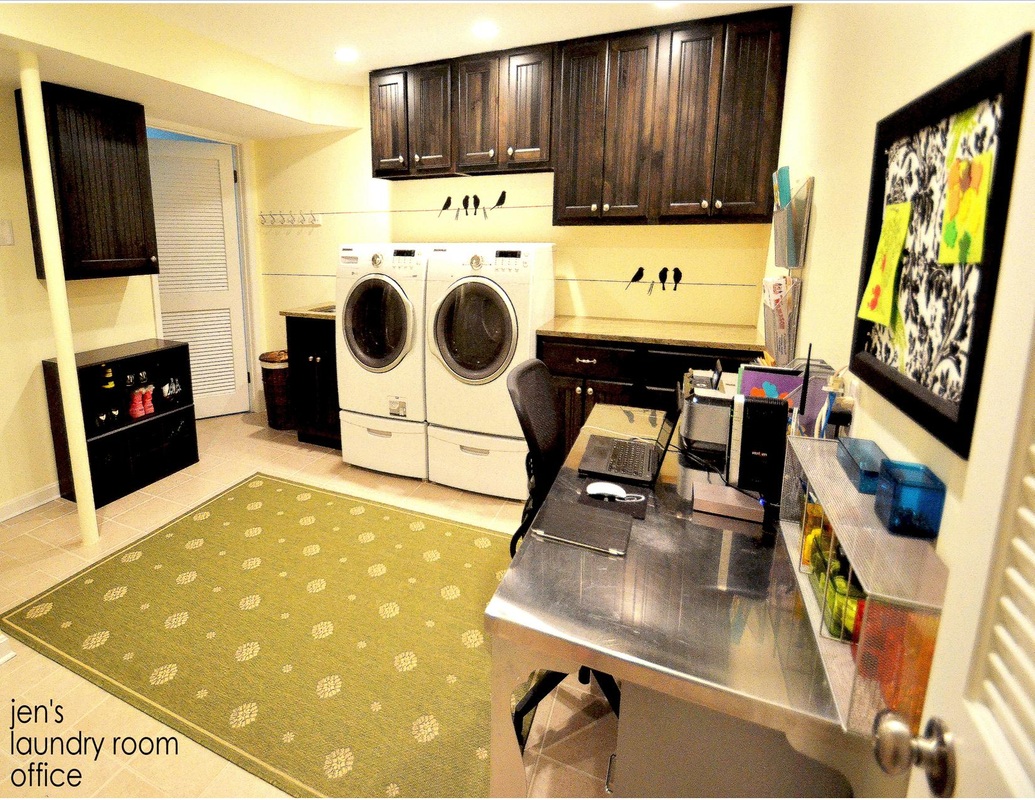 Project Summary
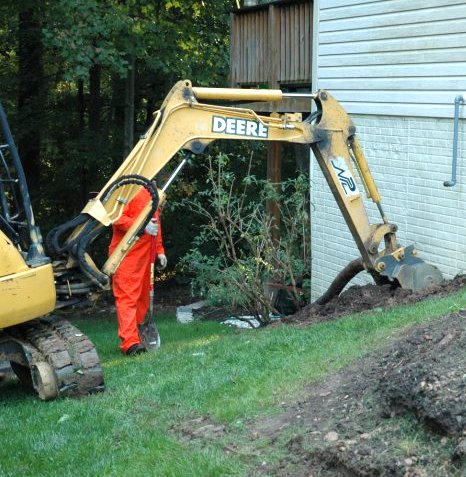
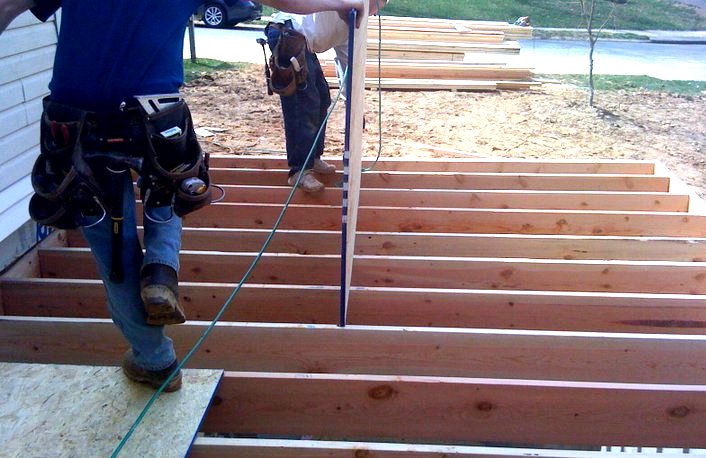
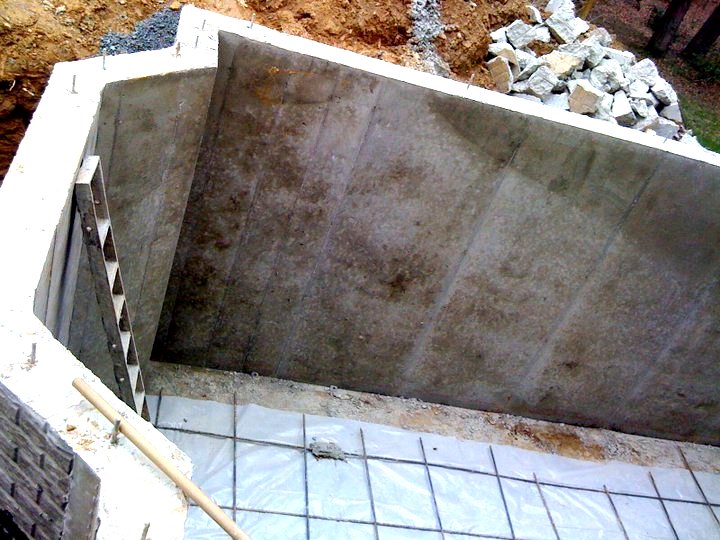
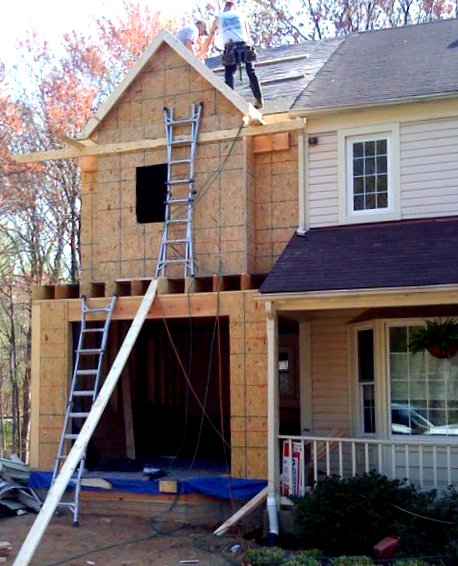
Interior Designer: Judi Silverman of Metamorphosis Interior Design Contractor: Michael Janowski, Owner of Ergon Construction Huge thanks to Jen for being my second "Reston Remodelista!" We live in a neighborhood which was built about 30 years ago, and as a result, many homeowners are now making significant changes to modernize their spaces. Huge thanks to my neighbor Teresa for allowing me to feature her beautiful home addition as the first in a series of projects by our "Reston Remodelistas!" I love how the addition preserves the original character of the house and the neighborhood, but adds a ton of extra space. Here is Teresa's house before. So cute, right? 
 See the gorgeous new window? And I love the way the fern just chilled out during the whole thing. :-) 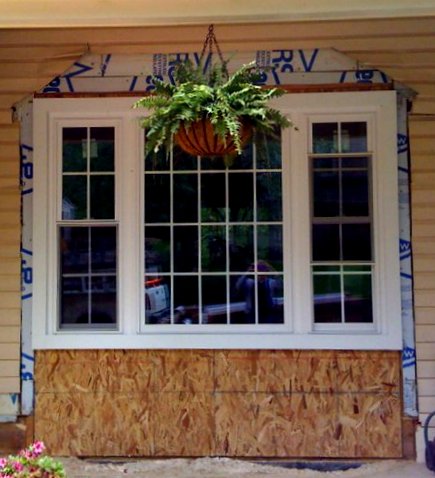 TA DA!!! Here is Teresa's house after. I absolutely love the siding, the huge new windows, and all that extra space (which is very hard to come by in this 'hood!) 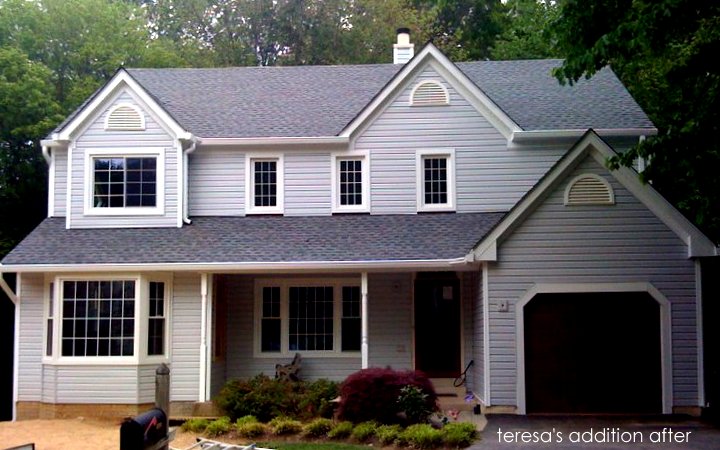 I'll be back with some fabulous interior shots, and Teresa's recommended contractors.
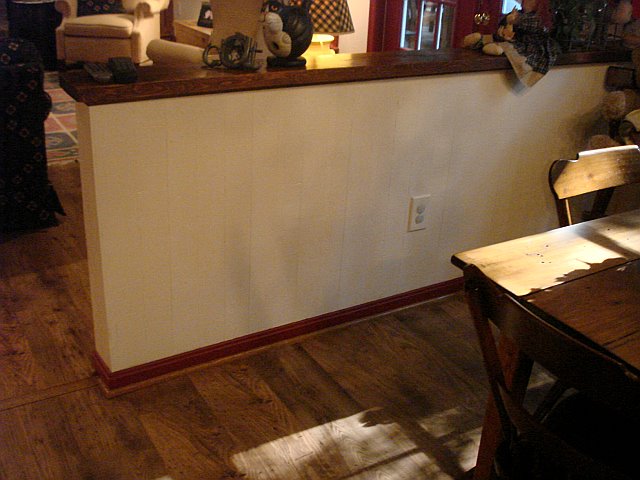
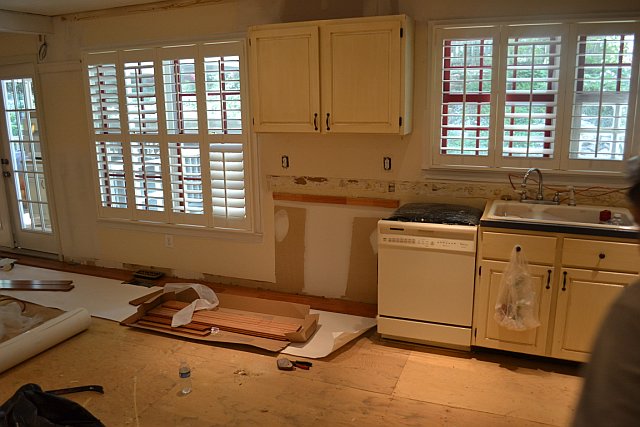
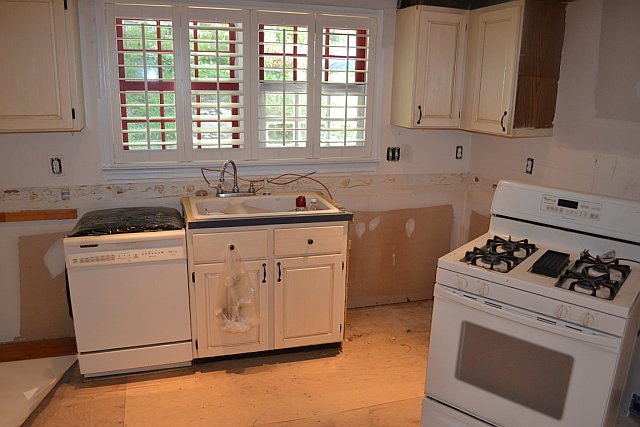
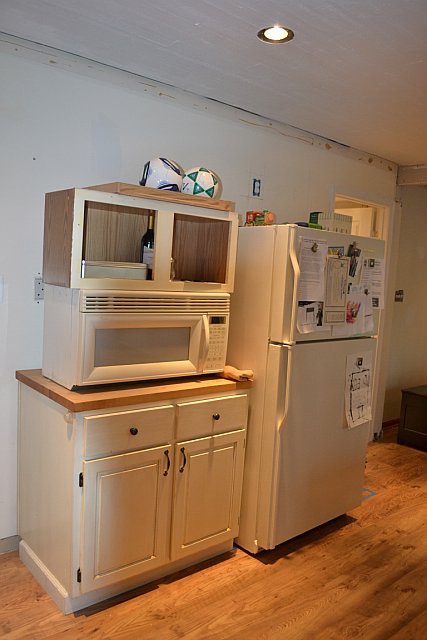
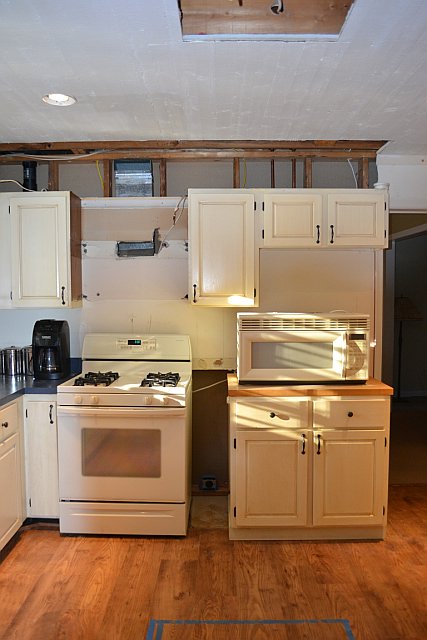
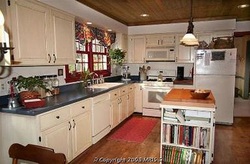
Happy Saturday! One year ago, we finished our kitchen renovation almost three years after moving into our "new" house. Although I personally love a bright and shiny Before & After, I wanted to document the process, and share information about our contractors in case anyone is interested. Below is a shot of the kitchen when we first looked at the house. We purchased it from the original owners, who had lived there since 1982. For the most part, everything was structurally sound and well-maintained. However, from an aesthetic standpoint we decided to do a gut renovation. GULP. The Lowdown Ceilings: Dark-stained planks Cabinets: Original (but refaced with a distressed cream finish) Counters: Navy blue laminate Appliances: White, and all grouped together. There wasn't anything built in on the right side of the room (out of frame) Floors: Wood laminate 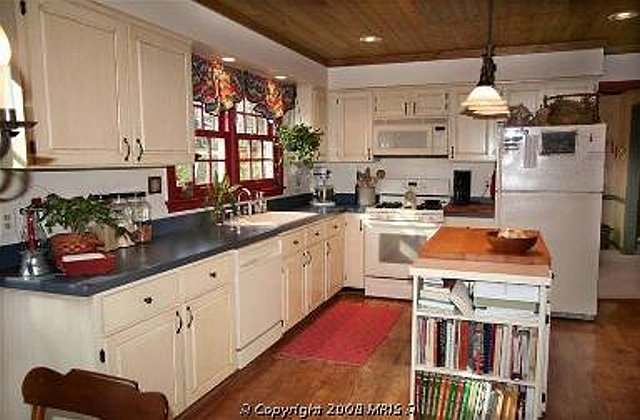
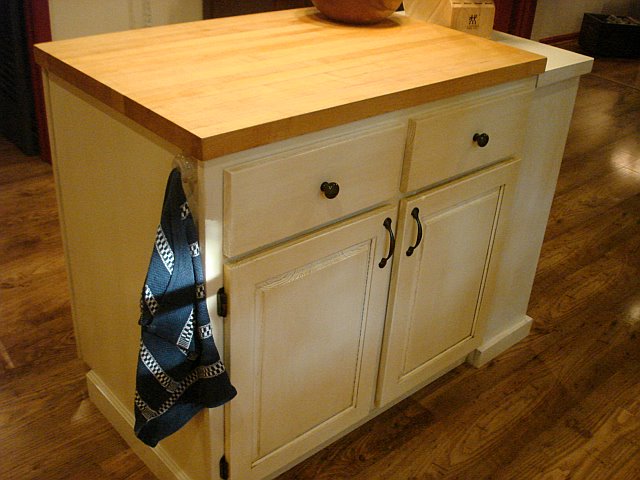
On the left is a half wall which separated the kitchen from the family room. Since we planned to replace the floors anyway, it was no problem to remove it. On the right is the original kitchen island, which had a detached bookshelf. It was too small for the space and the butcher-block top had seen many years of use.
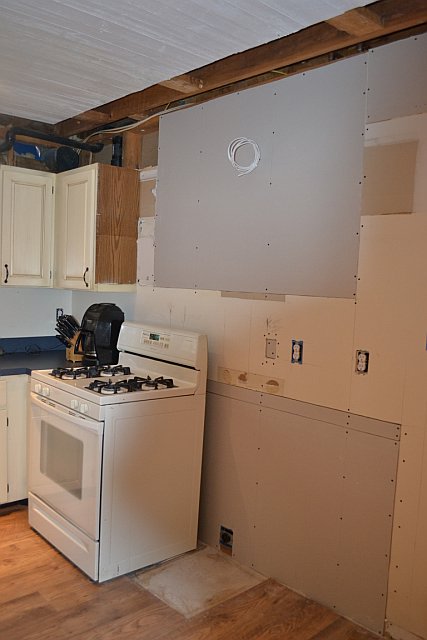
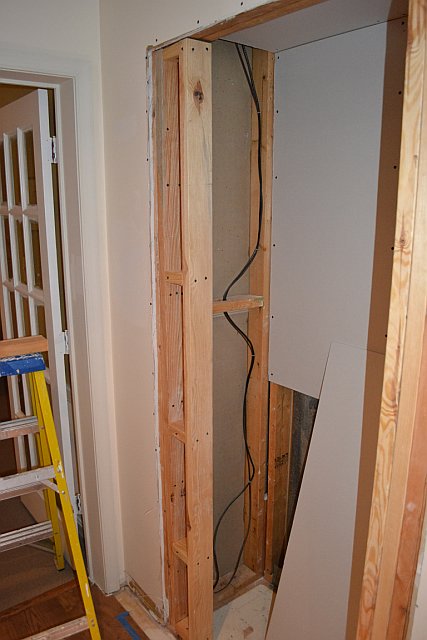
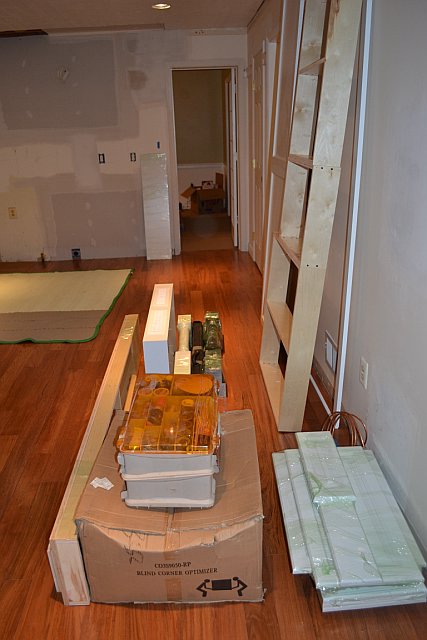
Step One: Demo the entire space so the floors could be installed. We hired K&K Floors and they were efficient, reasonably priced, and performed quality work. Highly recommended. 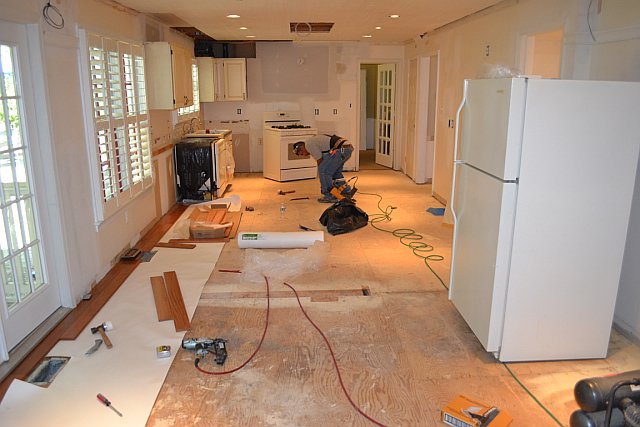 You can see that we removed the half wall, painted the ceiling and window frames white, and installed plantation shutters. Since we were moving the oven and the refrigerator, we had to do some drywall, ductwork, and electrical on the rear wall.
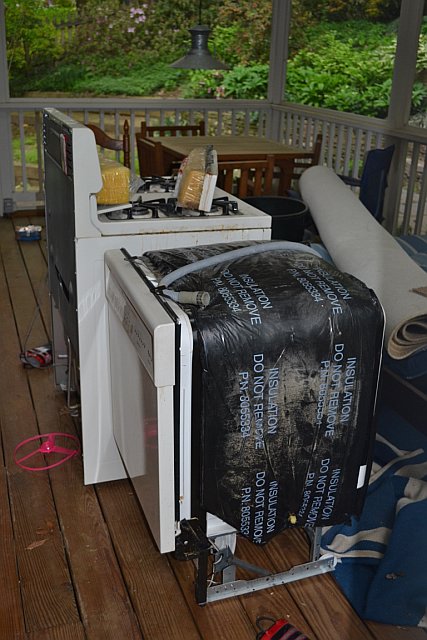
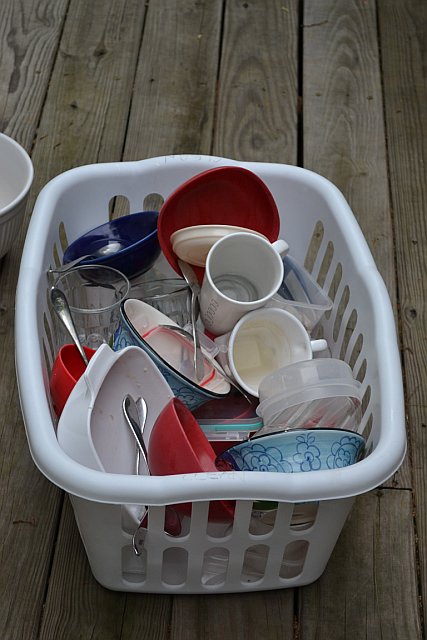
Throughout the renovation, we set up many makeshift kitchens. At one point, I was washing dishes on the deck in a laundry basket. Step 1.5 should be "Live in a Hellhole."
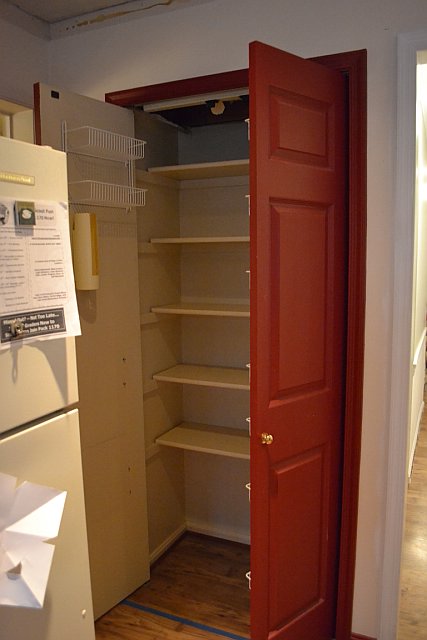
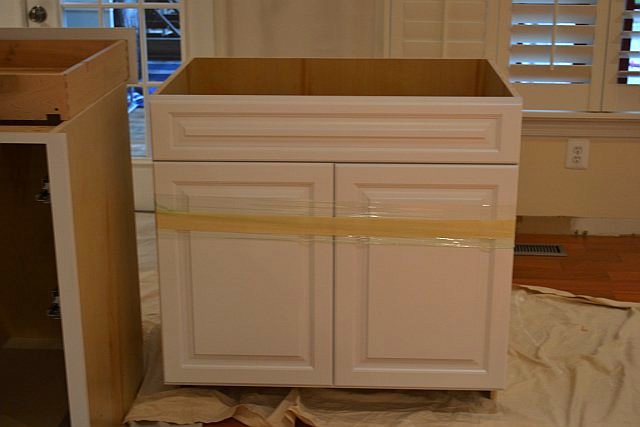
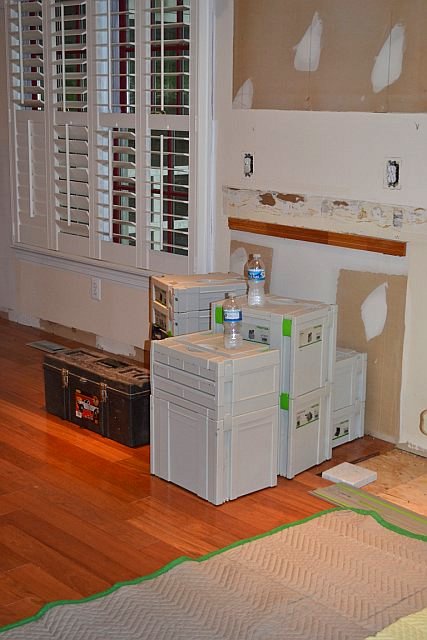
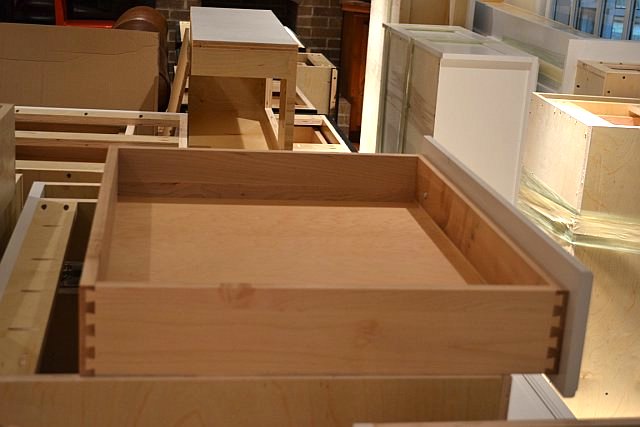
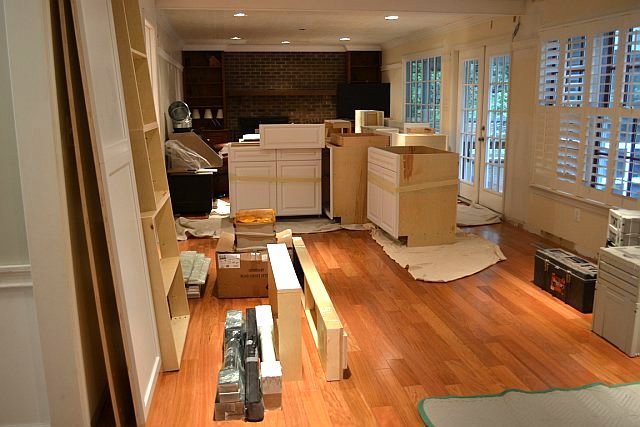
You can see the new Brazillian Cherry hardwood floors in some of the following photos. When they were first installed, they were fairly light, but have since darkened over time. Because of the darkening effect, we couldn't put down any rugs for several months. Step Two: Install the cabinets. The contractor we used for the cabinets was a custom builder called The Proper Carpenter. He was absolutely phenomenal: Reliable and reasonably priced, with meticulous attention to detail and outstanding customer service. He provided us with advice and assisted with the overall kitchen design, in addition to actually building and installing the cabinets. Very highly recommended!
 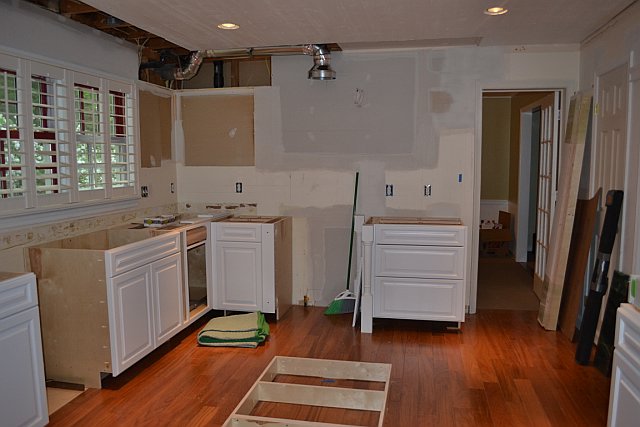 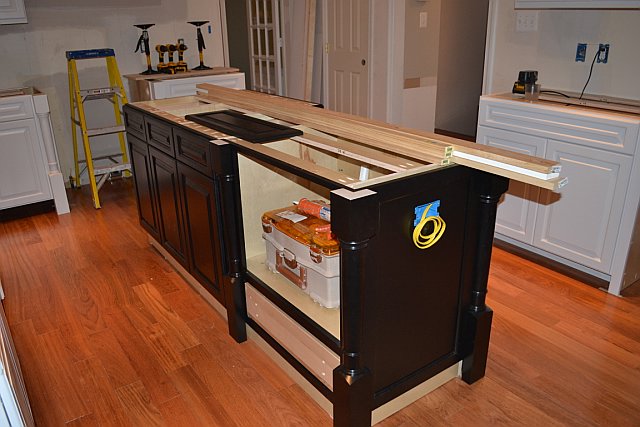
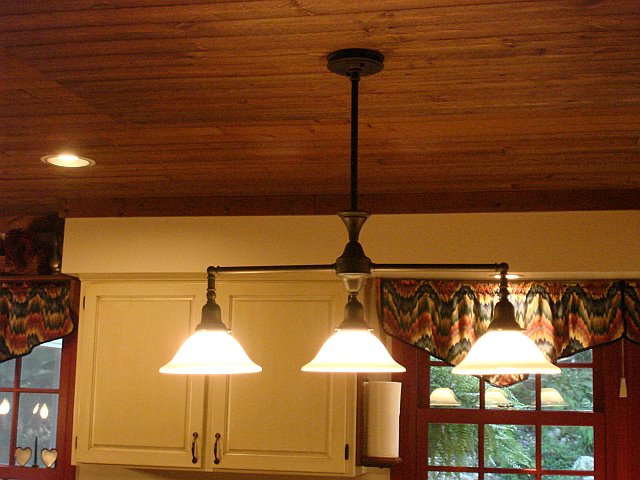
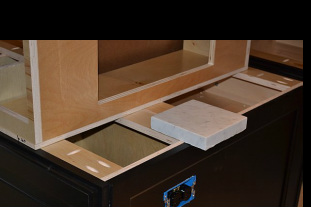
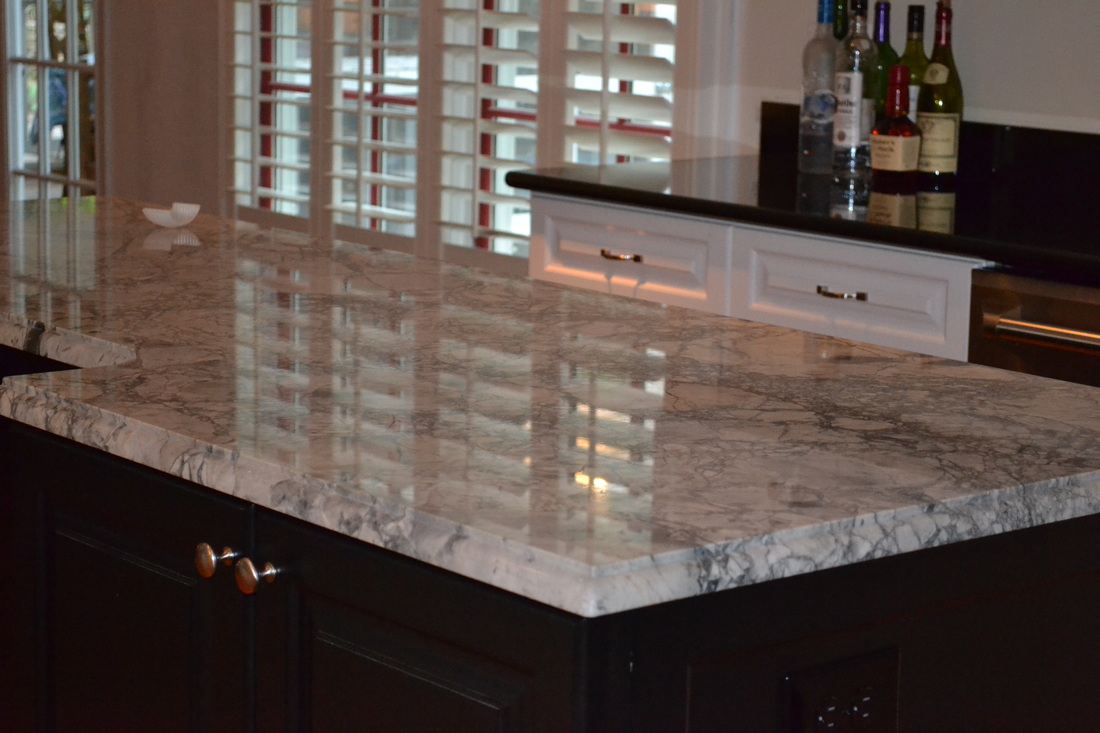
I wish I had some shots of the granite installation, but the installers came while I was at work! However, it was great to work with Euro Stone Craft. They were pretty patient when explaining all the different types of stone, and did a nice job of installing everything. I also missed the appliance installation (as well as the shopping, thanks to my husband!) We purchased everything through Bray & Scarff, who were competitively priced and seemed to have a lot of expertise regarding installation. Also, our new dishwasher had a problem within the first few months, and they quickly fixed it! In addition to the cabinets, my husband installed 3-piece crown molding and built a ceiling piece (trimmed out with molding) to hang the lighting pendants and mirror the design of the island. He also removed the soffit over the sink and installed down lights. TA DA!!!  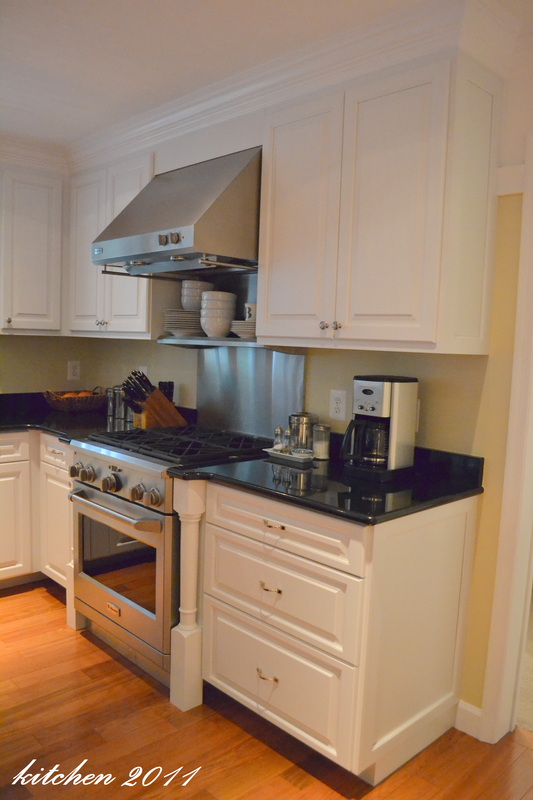 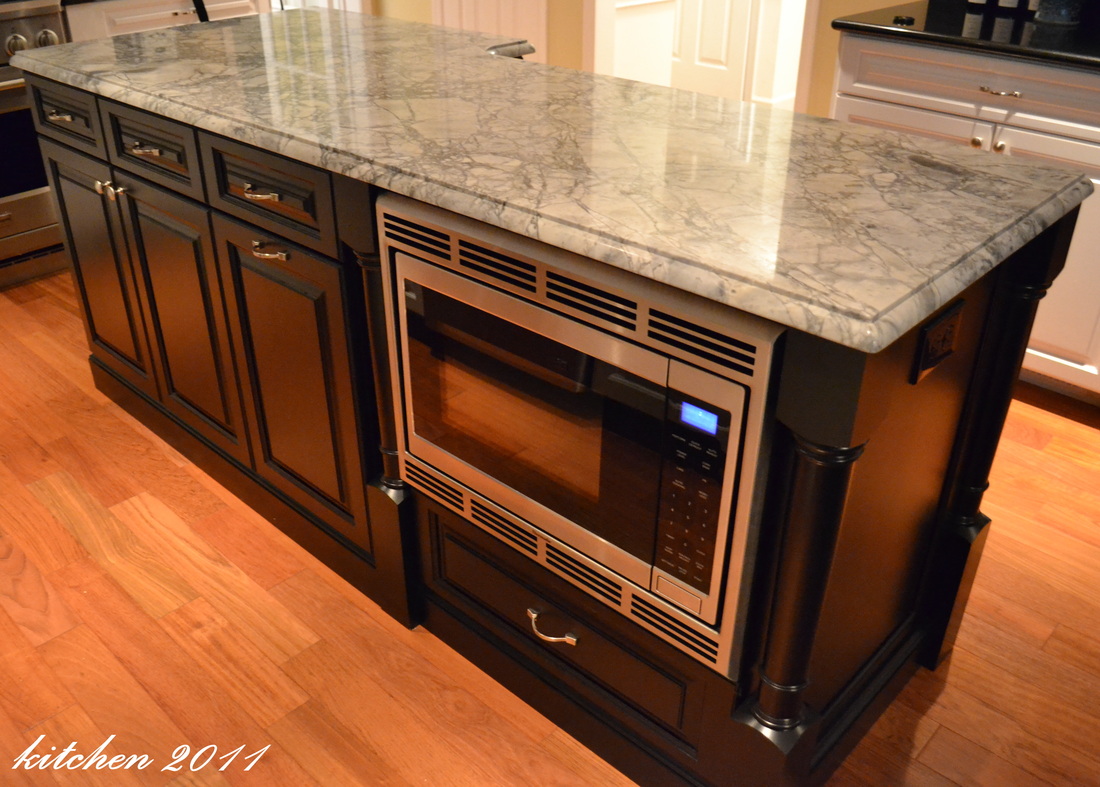 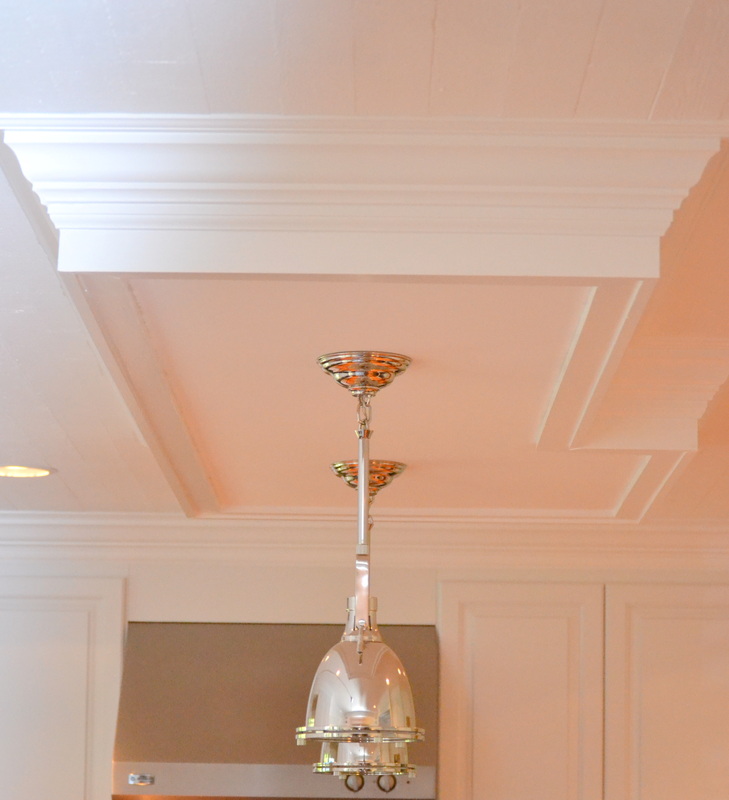 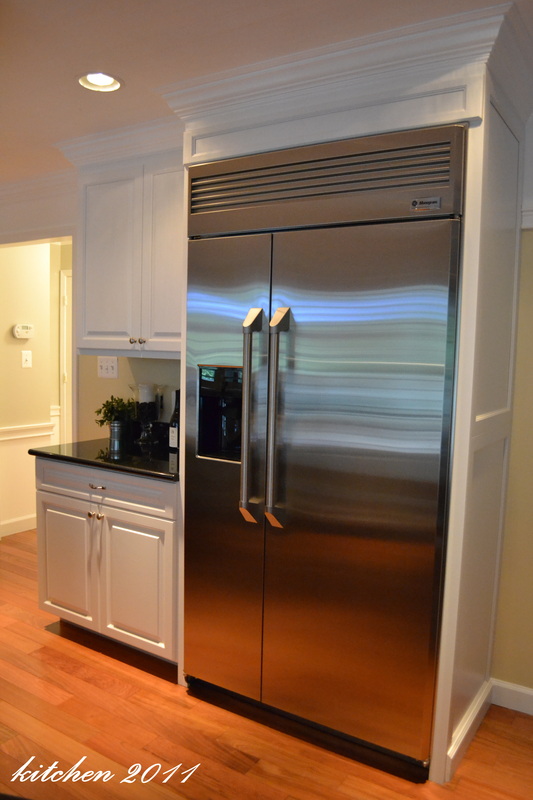 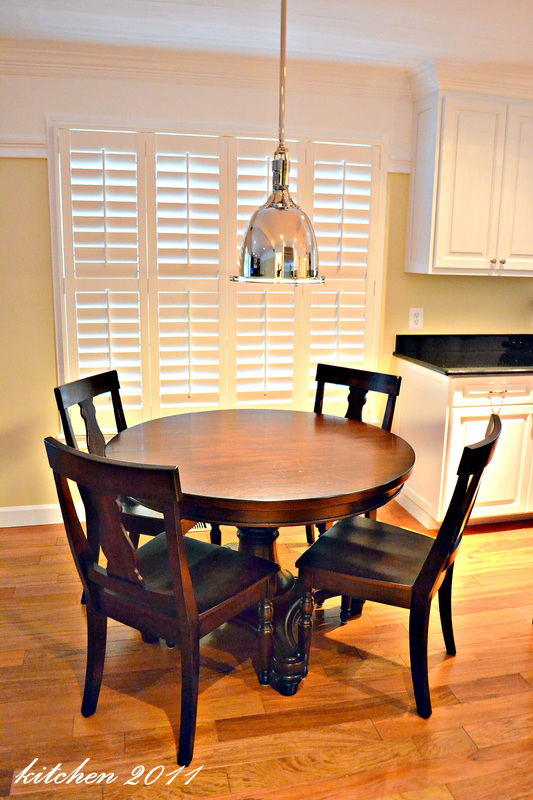 Project Summary
Recommended Contractors & Vendors
Floors: K&K Floors Cabinets: The Proper Carpenter Counters: Euro Stone Craft Appliances: Bray & Scarff Lighting: Restoration Hardware Paint Color: Nigerian Peony by Ralph Lauren Painting, drywall, electrical, demo, and molding were done by the homeowners. Well...one of the homeowners. ;-) Happy Thursday! 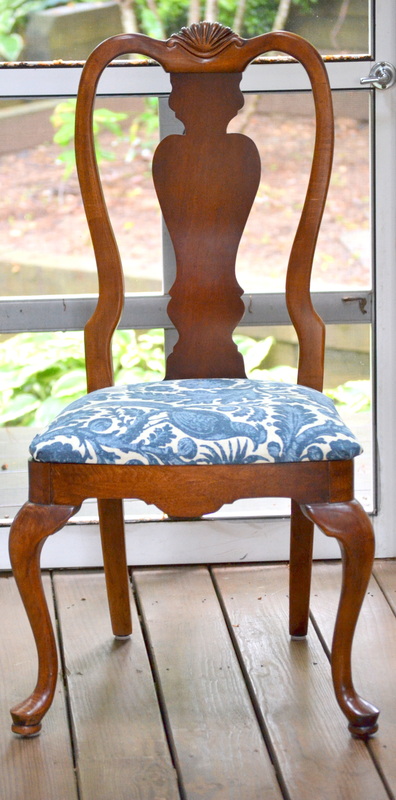
But what I failed to mention is that they joined a pretty large chair family. To be exact, we have 4 of these... 
...and 4 of these... 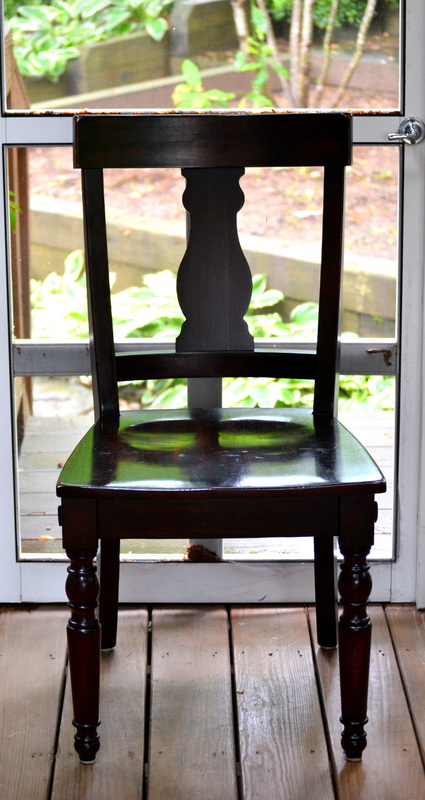
...and 8 of these... 
...and 4 of these... 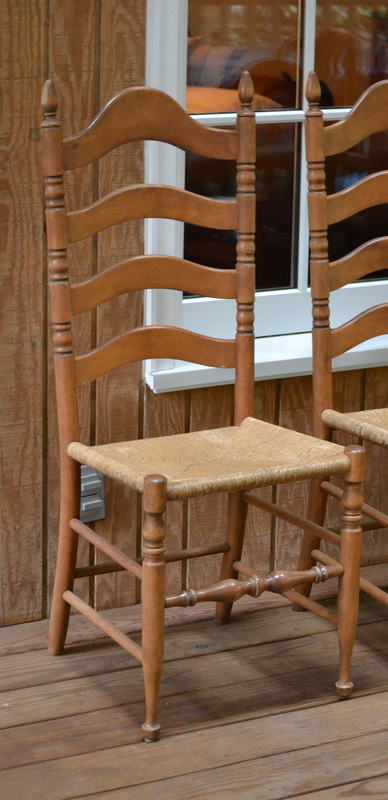
You guessed it! 4 of these... 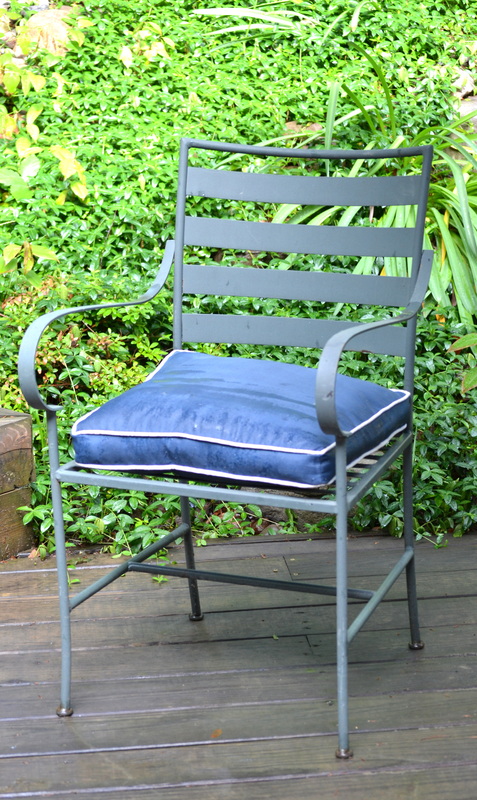
...and finally, 4 of these little playroom guys. 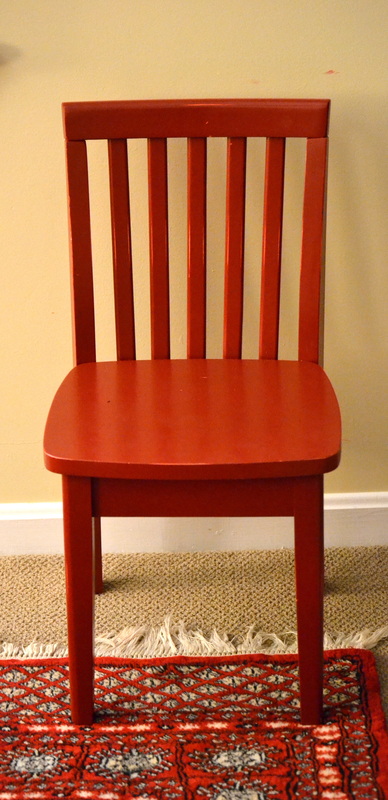
Yes people...that is a grand total of 32 chairs. 32 chairs!!!
Did I mention our house is on the smaller side? Now granted, a bunch of these are on the screened porch and deck, but we definitely have way more than we need. I'm planning to Craigslist the little red ones, and probably donate the ladderback chairs, which I hate to do since they are the chairs from my childhood kitchen. :-( But something has to go...am I right??? Happy Tuesday! I'm about to confess something that will probably shock you: I bought fabric for the first time yesterday. I know! Can you believe it? I went to Jo Ann Fabrics, and I wasn't even sure how to buy it (do they cut it for me?) The woman probably thought I was crazy. Ha! {Big shout out to Miss Mustard Seed, because I first fell in love with the fabric when I saw it on her drapes!} Since I was feeling wild, I decided to kick it up another notch and buy a staple gun too! My husband, who has every tool known to man, told me he had one...but I'd have to wait for him to find it later. Later?! I had a little project in mind, and obviously I needed to do it immediately. What was this emergency which sent me to both the fabric store and the tool aisle at Target? These chairs! I have 4 total, thanks to my former next-door neighbor. She gave them to me when she moved. Neighbor: "Do you want the chairs?" (simultaneously) Husband: "No!" Me: "Of course!" A little fabric and some staples later, and voila! I'll probably paint them white at some point, because we have a lot of dark wood furniture in our little house, but for now I'd say it's an improvement: 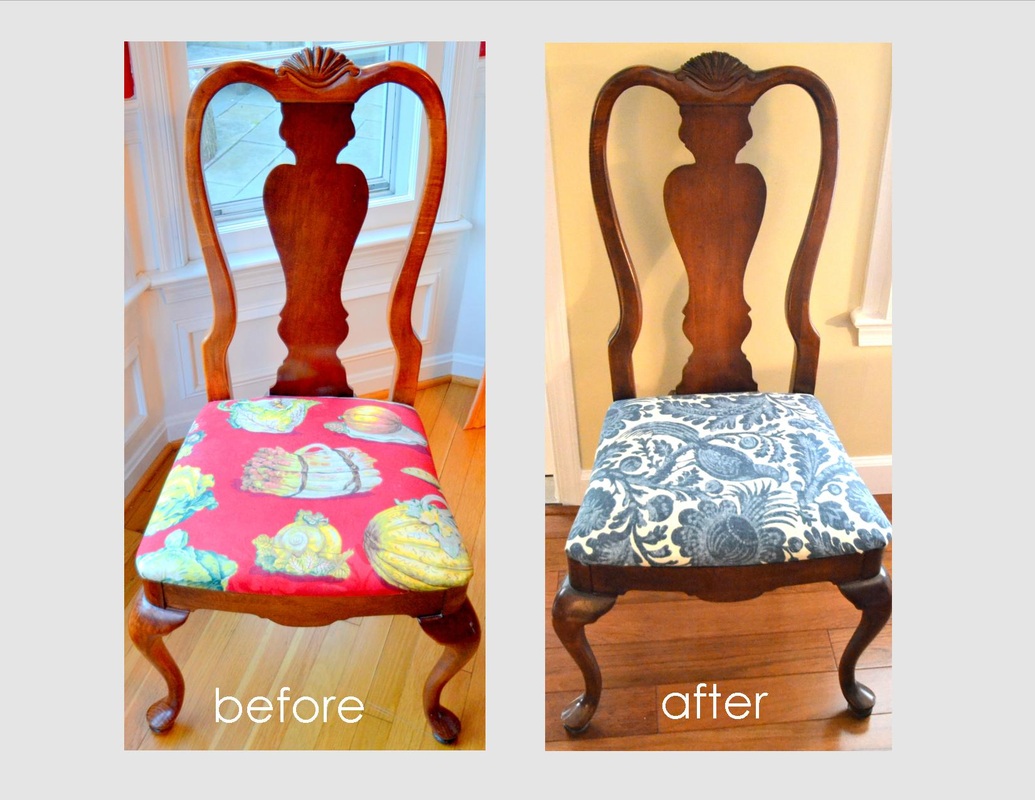 Here's a close-up of the fabric. Not bad for $12/yard! Yeah, I should have turned the bird the other way, but I kind of like it like this: 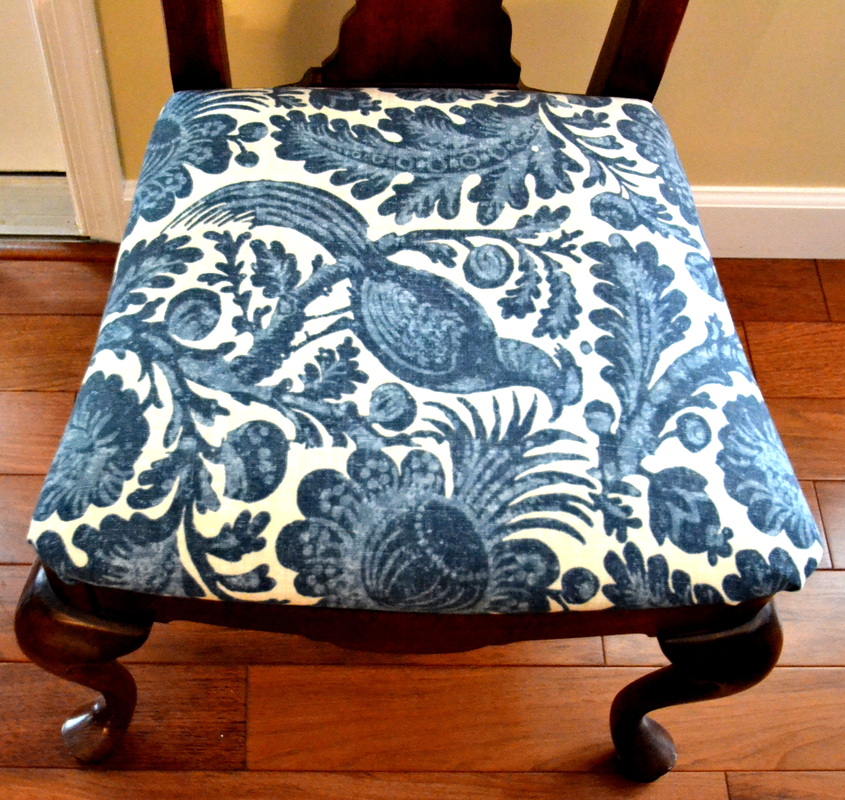 I love to complain about this house! That's no secret. But I want to share one of the main reasons we bought it, and it's a small one: The waterfall. Now, this is something that we NEVER would have done ourselves...and I mean never! But it was one of the first things I noticed when I walked in: the kitchen windows were open, and the sound of the water made me feel like I wasn't in a busy DC suburb anymore. It just gives the house a great, relaxed vibe (the household chaos aside, ha! As long as the boys are awake, we don't quite do "relaxed!") :-) I'm going to take pictures of the screened in porch and deck area, just as soon as the construction is finished...or maybe sooner, because the reason I started this blog was to document our renovation, ugly reality and all. But for now, here's another little moment of Zen for your Tuesday: 
You would not believe our backyard right now. Seriously. Planting, ripping up the deck, debris and pollen everywhere. Luckily, I have my own little oasis known as "The Mommy Chair." I bought it for myself as a present 2 years ago, and I LOVE IT. It has handy little drink-iPad-laptop-etc. holding shelves that pull out on either side. You can even recline it all the way back, so it's like a full-size bed! Usually, it's littered with Crocs and soccer balls, but for now, let's enjoy this moment of Zen, shall we? :-) 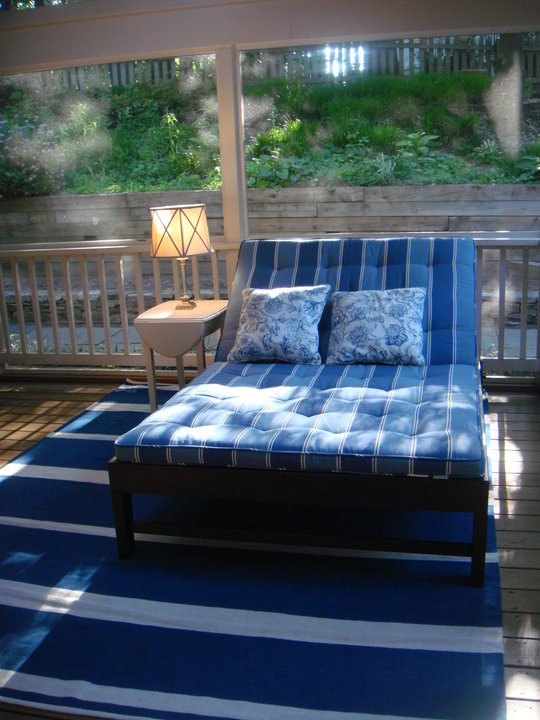 |